
Smart Contracts are programs stored on a blockchain that run when predetermined conditions are met. We are going to create our first smart contract.
Create a new folder and navigate to it.
mkdir hello-smart
cd hello-smart
Initialize Git to convert the folder to a git repository. Then initialize Yarn to convert the project to a node package. You can also use npm also, instead of yarn.
git init
yarn init -y
The skeleton is ready. Open the folder in a code editor. I am using Visual Studio Code. In the editor, create .gitignore file and add just one line to it.
node_modulesThis will prevent Git from pushing node_modules folder to Git server.
Hardhat
Hardhat is an Ethereum development environment for us. It is a tool for building and deploying contracts to any Ethereum network. It facilitates frequent tasks like running tests, auto check code for any errors.
Add hardhat as a dev dependency to the project.
yarn add -D hardhatEven though we installed hardhat in our project, we are going to run through hardhat steps using npx command.
npx hardhatWe are presented with the first question to start a hardhat project.
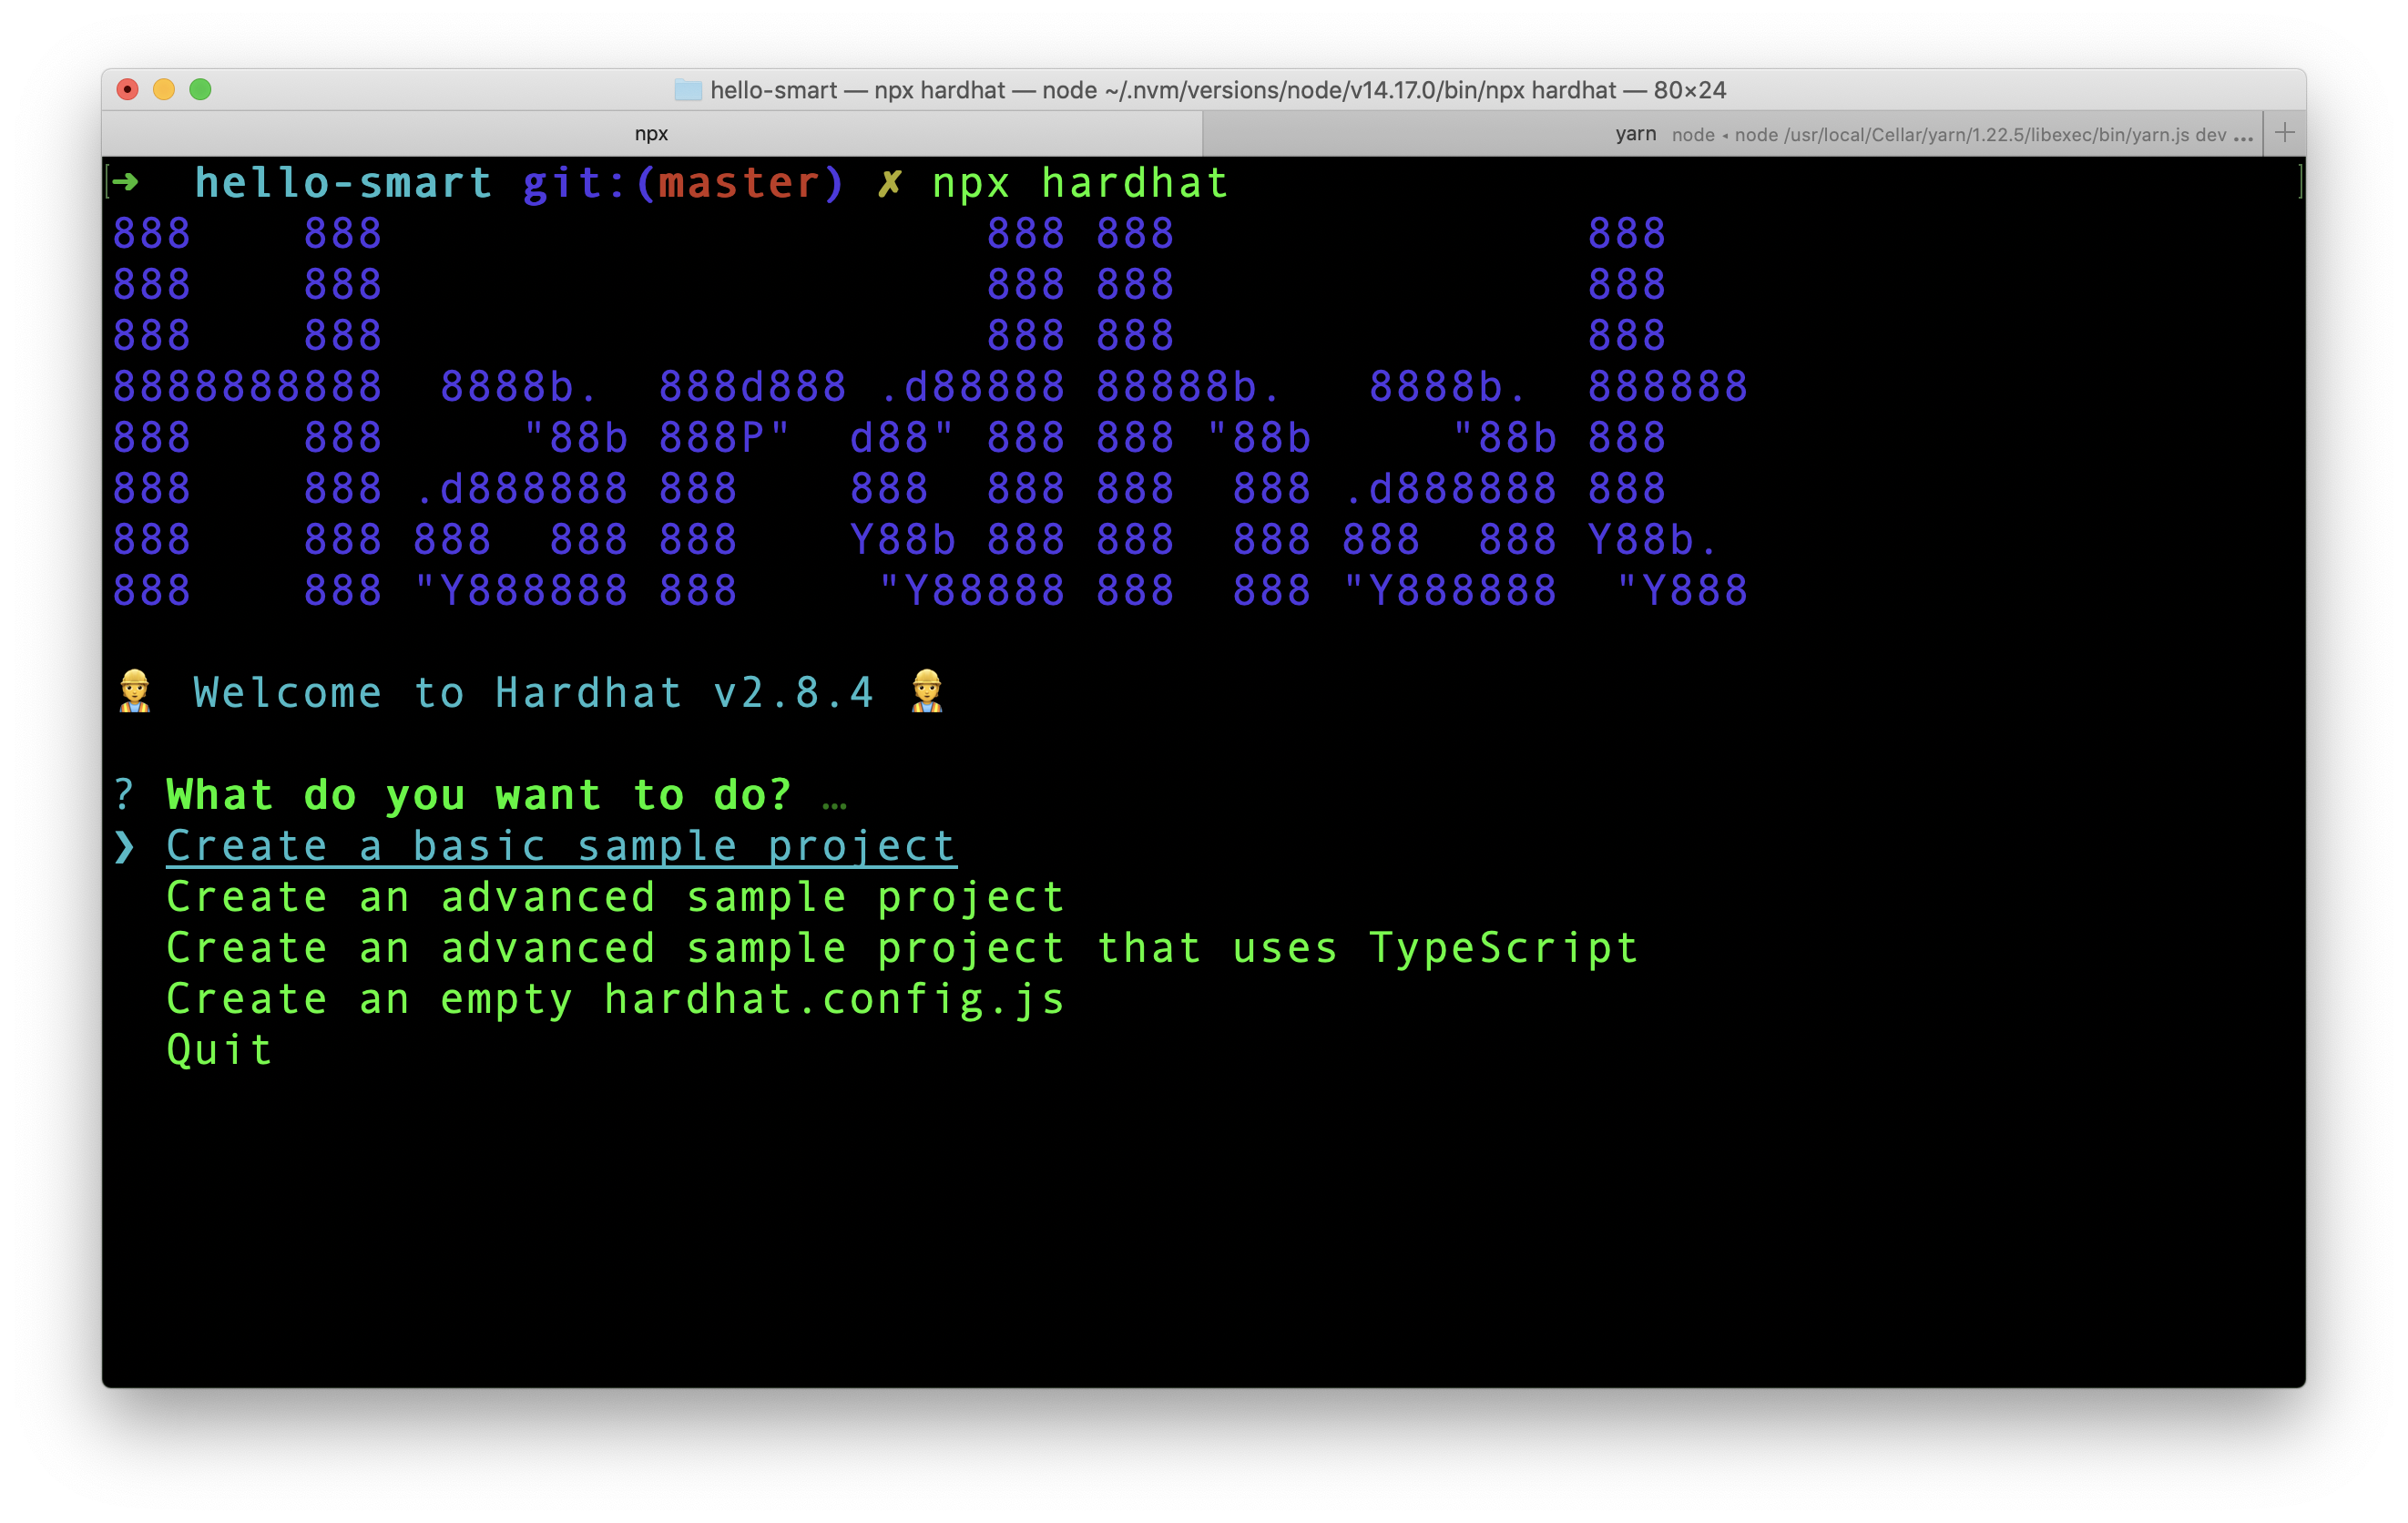
Select the 4th option from the list which is Create an empty hardhat.config.js and press Enter. A new file hardhat.config.js will be created in our project.
Folder Structure
The typical folder structure for a smart contract looks like this:
project
    - contracts
        - mycontract.sol
        ...
    - scripts
        - deploy.ts
        ...
    - test
        - mytest.js
        ...
We store all our code for contracts under contracts folder. Files under scripts folder are used for deploying the contract. test folder contains test code.
Hardhat automatically takes code from contracts folder and compile each code. Also, when we run hardhat test command, it goes through test folder and run each tests.
First Contract
Create a file under contracts folder and name it HelloWorld.sol. .sol file extension is for solidity, which is the programming language of Ethereum. Lets start filling the file.
First step is to tell Solidity, what compiler we expect.
pragma solidity ^0.8.0;pragma is kind of pre-compilation level. It says that we need atleast 0.8.0 compiler level for compilation. You can imagine above line as package.json in node projects which tells what versions of tools to be used.
Next add following to the file.
contract HelloWorld {

}
The contract syntax looks similar to a class. In lot of ways it has similarities to a class. Contract is a state container with functions that can mutate the state. Contract also has a constructor. This constructor will be executed only once when deployed to a network.
Now add the below function inside HelloWorld contract.
function hello() public pure returns (string memory) {
    return "Hello World";
}
As we can guess this is a normal function that is public and returns a string "Hello World". pure represents that this function does not read or update the contract state. As we can see, our hello() simply returns a hard coded string. So it is a pure function.
Here is the complete contents of HelloWorld.sol.
pragma solidity ^0.8.0;

contract HelloWorld {
    function hello() public pure returns (string memory) {
        return "Hello World";
    }
}
Compilation
Before compilation step, we need to verify that the compiler version in hardhat.config.js and what is requested in our solidity file matches. In our case, the compiler version in hardhat.config.js is 0.7.3. We need to update the version to 0.8.10 in hardhat config file. Then only it matches the version number in HelloWorld.sol file.
After making version changes, go to terminal and run:
npx hardhat compileThe contract should compile successfully.
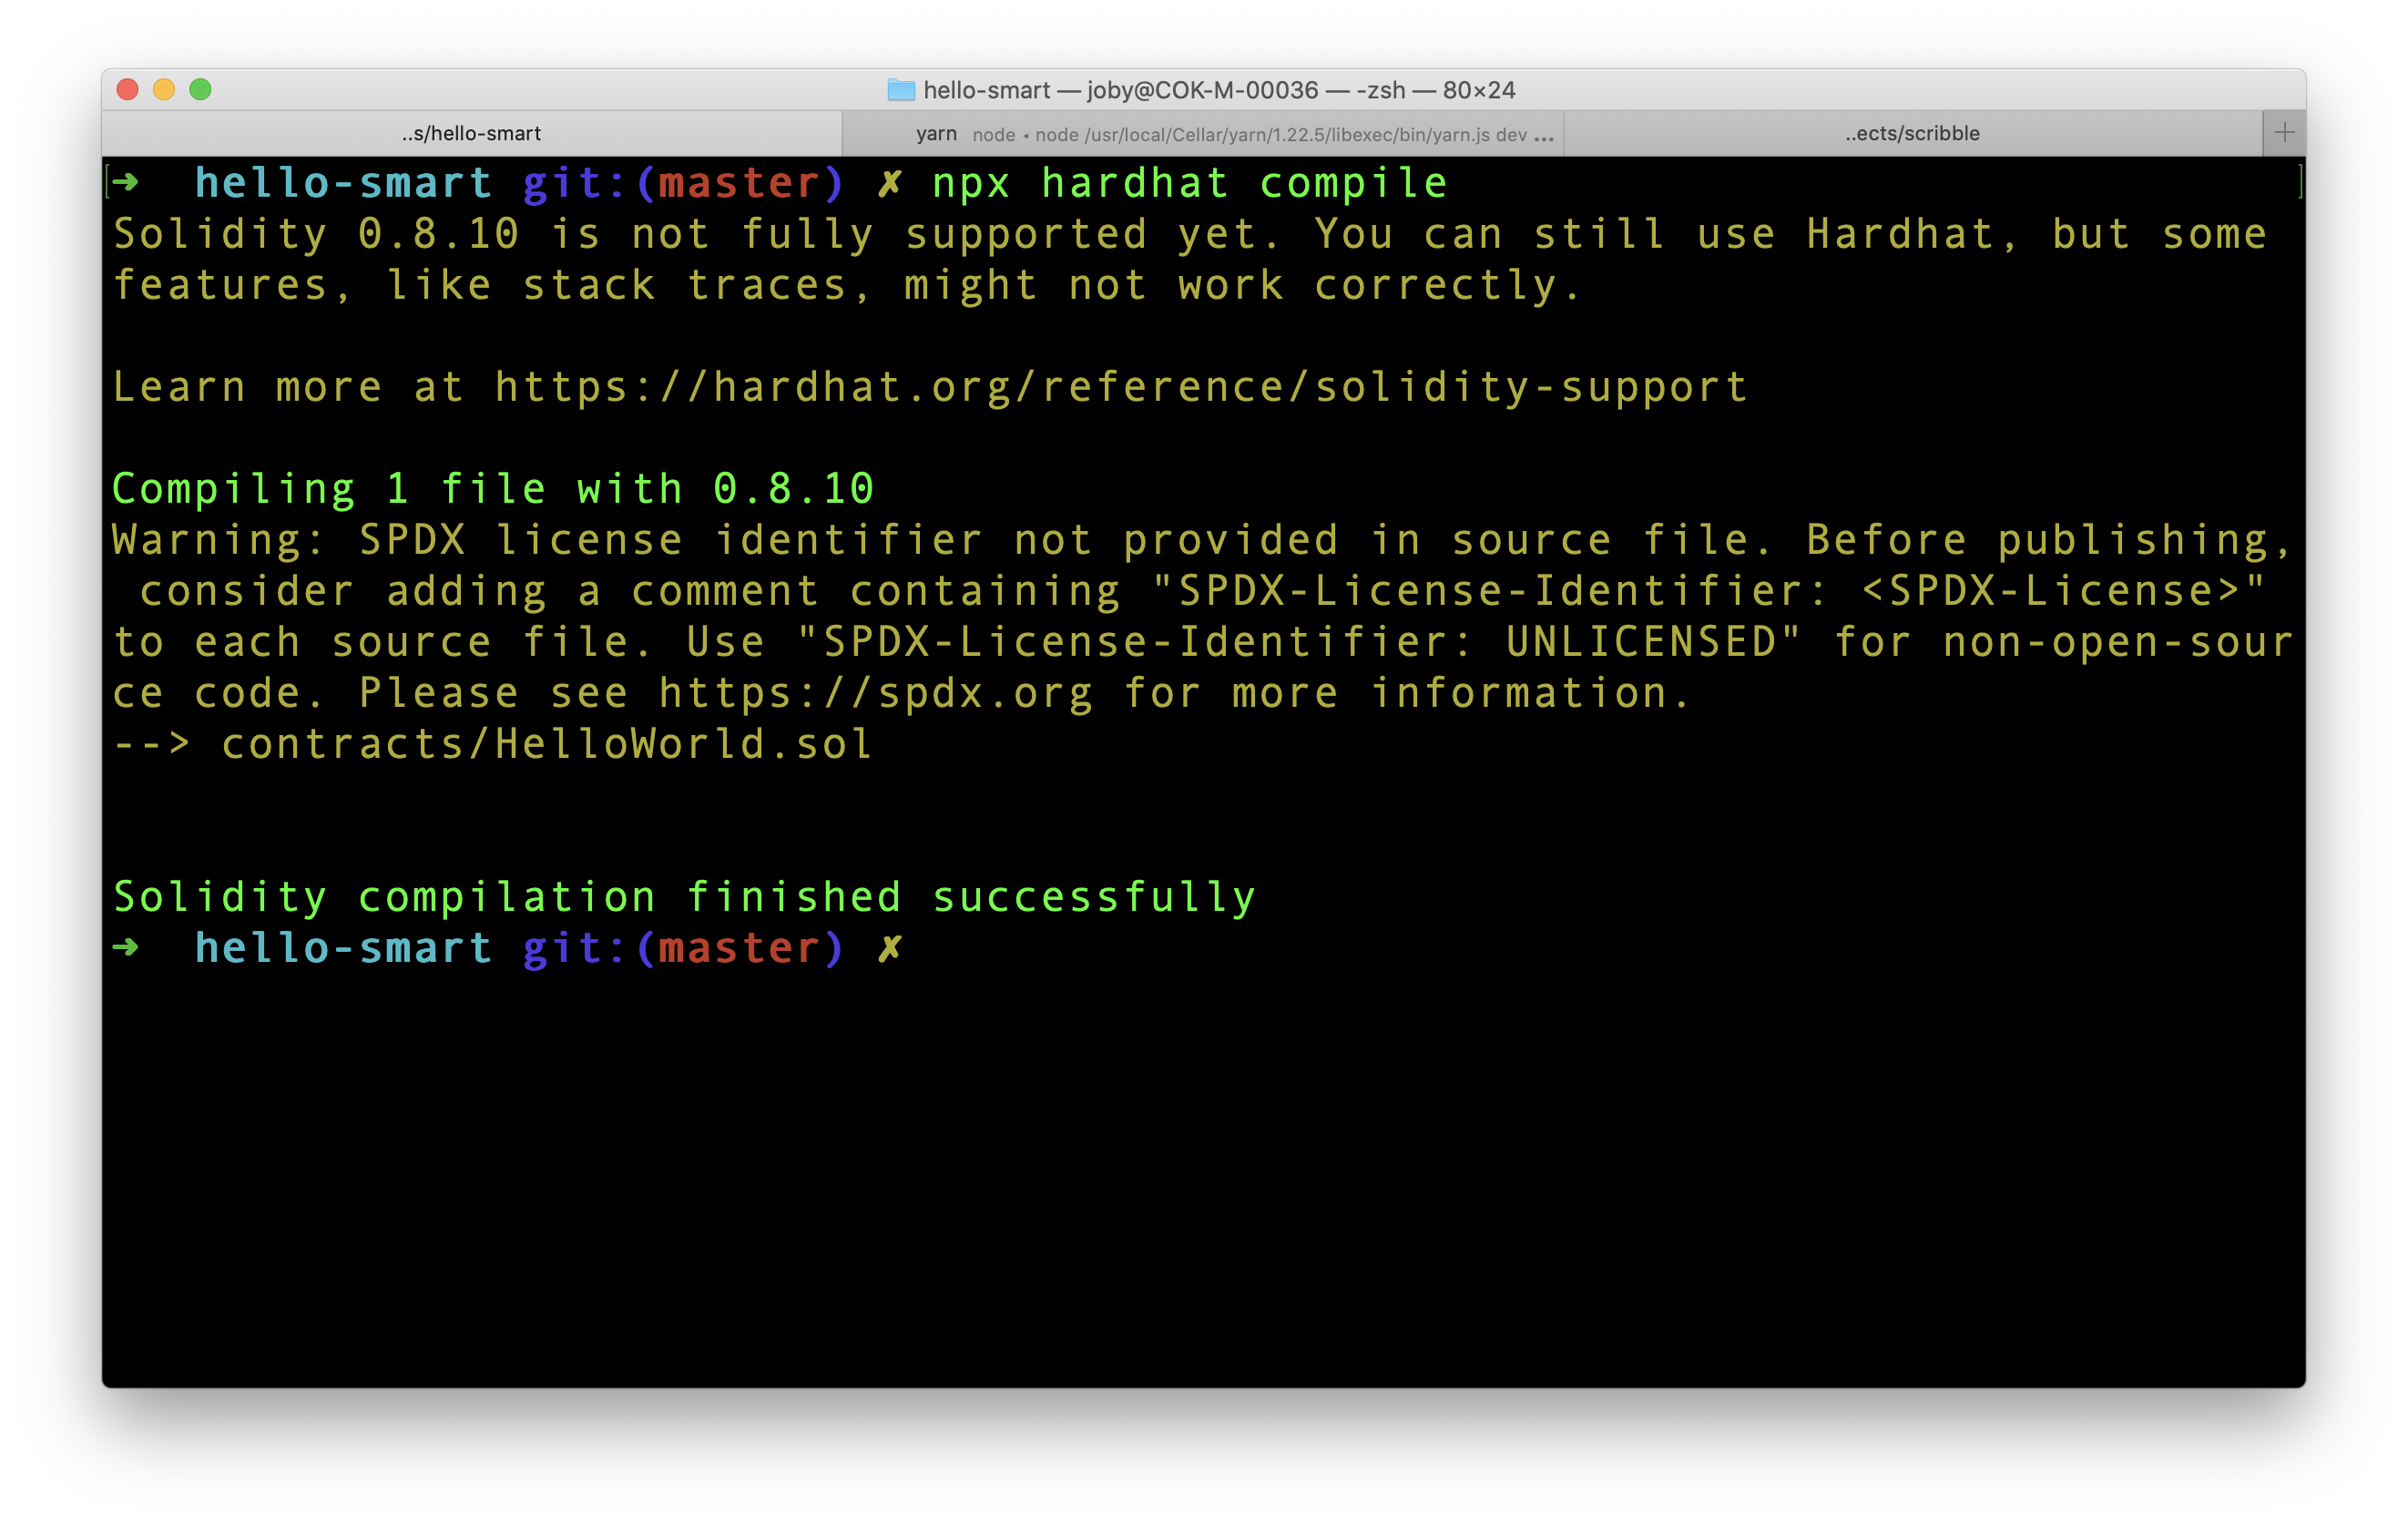
Hardhat stores the compiled contract under artifacts folder which was dynamically created during compilation. If we open artifacts/contracts/HelloWorld.sol/HelloWorld.json, we can see all the information about our contract and also the bytecode which is required for Ethereum Virtual Machine.
After compilation, the next step is to deploy the contract to a test network. We will cover that part in the next article.

 Joby Joseph