In the previous two articles, we learned how to create and test a smart contract. In this article we focus on deploying a smart contract to a real network. Here are the links to previous two articles.
You need to go through above two articles to better understand this article.
Deploy Script
When we say real network, there are networks like Darwinia or Mainnet. But these networks are paid and we are not going to use them now. We can spin up real network in our laptop itself as a localhost network. We will see how to do that soon.
Now, under scripts folder, create a new file deploy.ts. The file name can be anything. What we are going to do next is very similar to what we did in contract testing.
First, add package references to the file.
import "@nomiclabs/hardhat-ethers";
import { ethers } from "hardhat";
Next, we add a function that can deploy a contract to a network.
const deploy = async () => {
  const HelloWorld = await ethers.getContractFactory("HelloWorld");
  const hello = await HelloWorld.deploy();
  await hello.deployed();

  return hello;
};
deploy() function creates a contract hello and returns the contract once it is deployed in network.
We now create a handler function sayHello() that can take a contract and invoke it.
const sayHello = async (contract) => {
  console.log(await contract.hello());
};
Next, we call both deploy() and sayHello() functions.
deploy().then(sayHello);Run Deploy Script
In order to run the deploy script, we need to first go to the terminal and navigate to our project folder. There, execute following command.
npx hardhat run scripts/deploy.ts --network localhostInstead of deploy.ts, you need to substitute with the file name you have given. Above command tells to do the deployment in local network. For that there has to be a local network on the first hand.
If you are running above command for the first time, you will receive an error message saying:
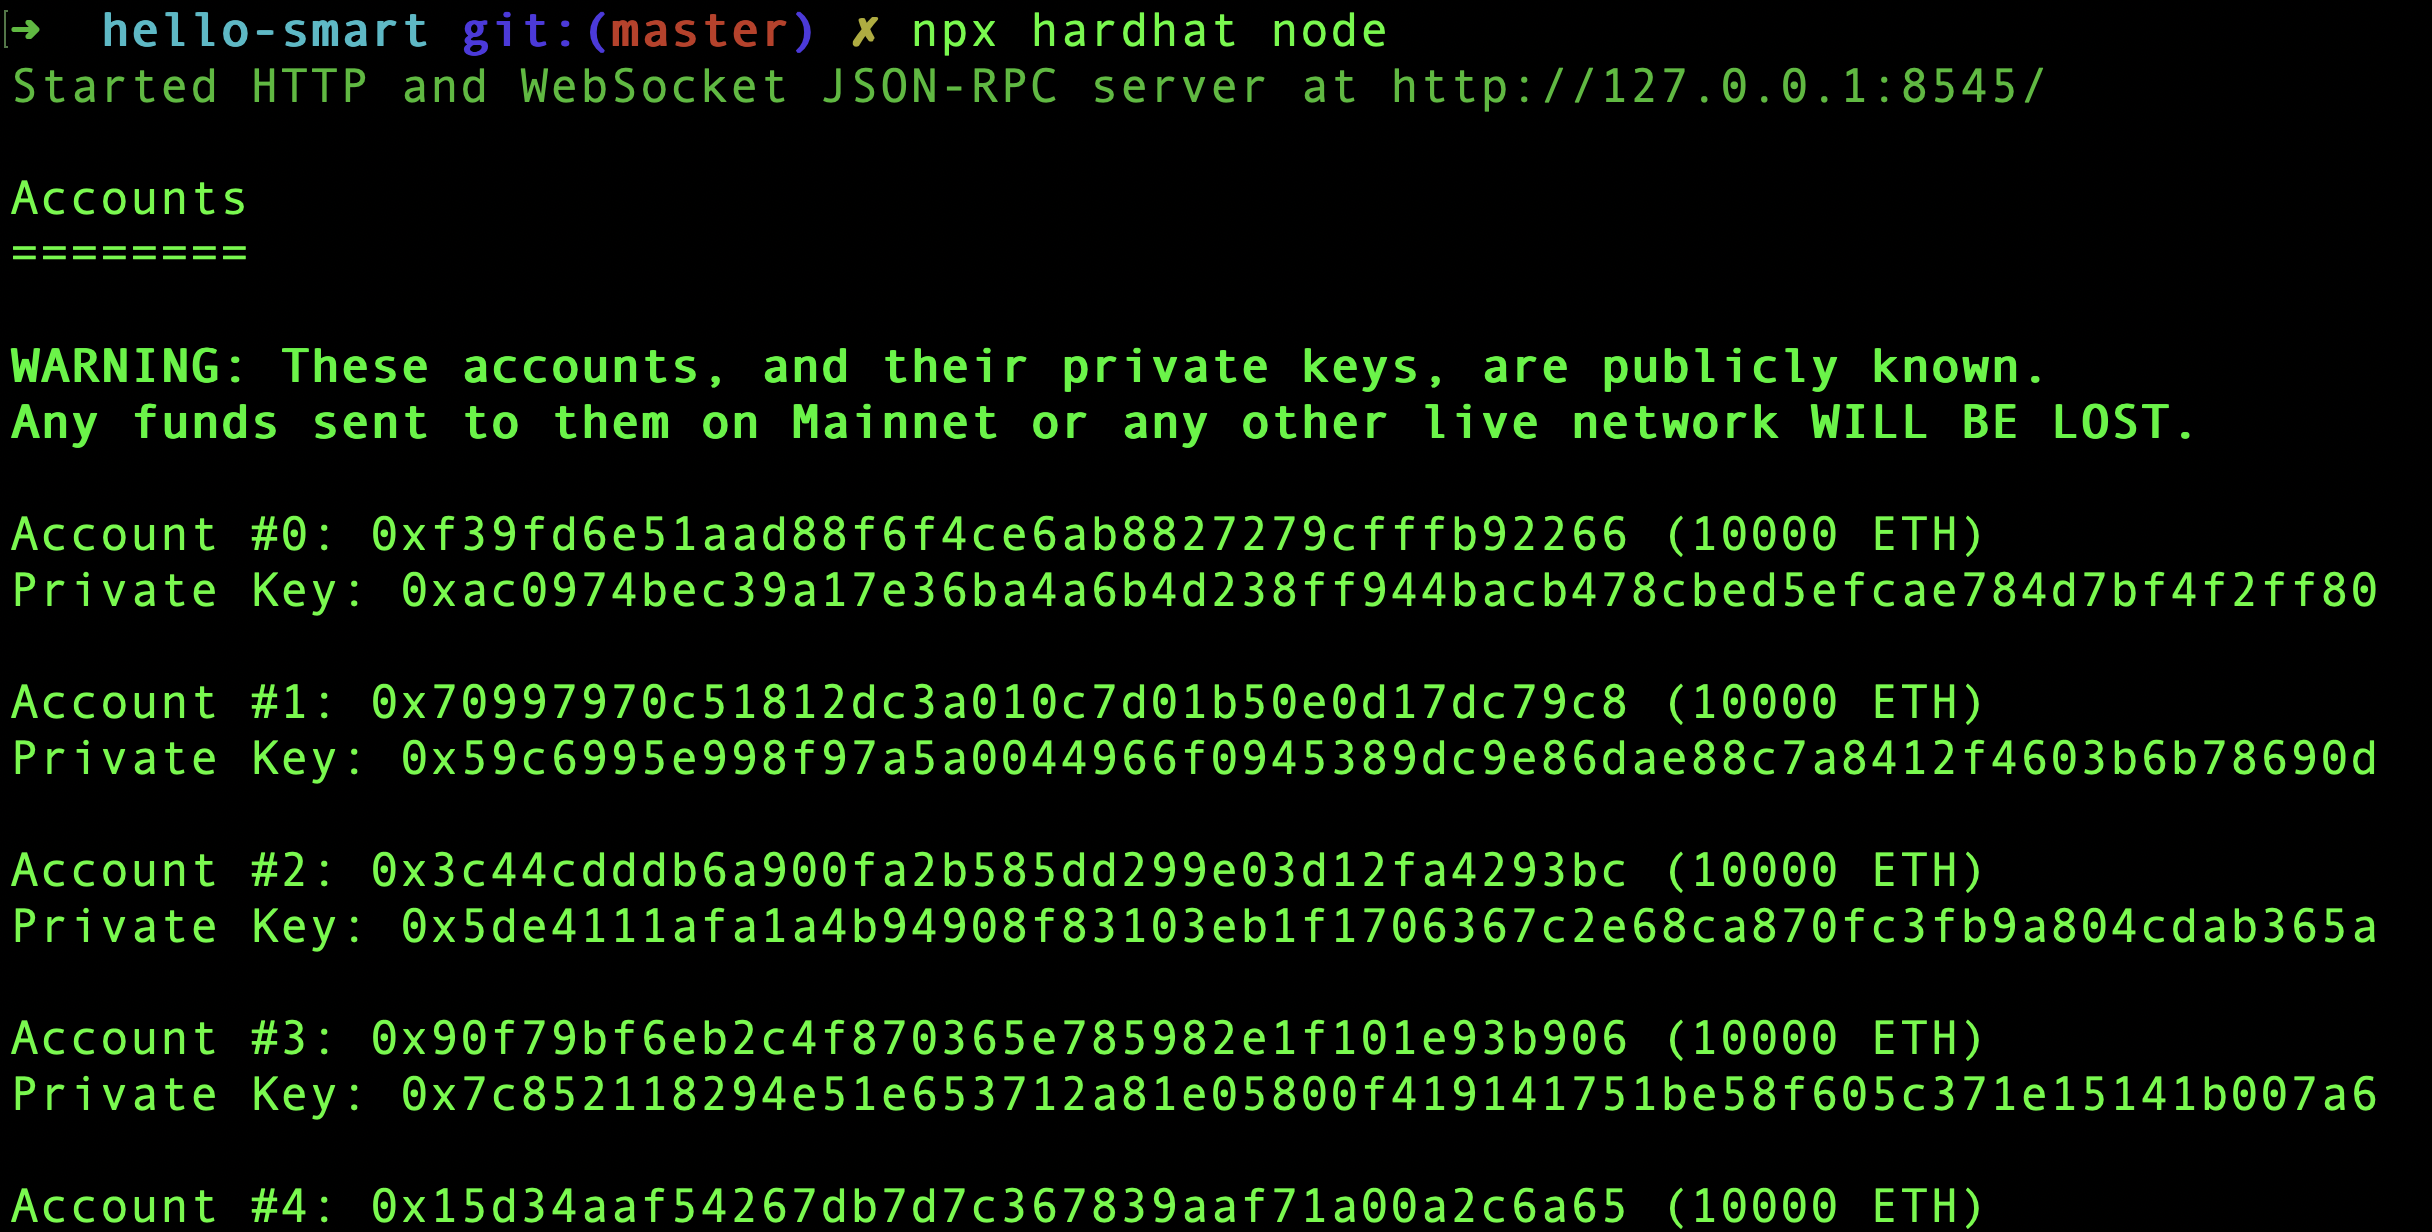
(node:30727) UnhandledPromiseRejectionWarning: HardhatError: HH108: Cannot connect to the network localhost.This is because in order to deploy to a network, first the network nodes should be present in localhost. For that run below code to create nodes in a new tab. We run it in a new tab, because the process will be running without giving back the command prompt.
npx hardhat nodeNow the local network is up and running. It creates 20 nodes by default as shown below.

After the nodes are up, rerun deploy script. We should see the Hello World! text printed by sayHello() function.

Now we learned how to deploy a smart contract to a network. When it comes to production environment, the --network will be substituted by real networks.
