
In this article we are going to deploy the Next.js application that we created in
Deploying Next.js app to Vercel contains different steps. We are not going into granular level of explanation in each step. We assume you know those steps or if not, there are many articles on web to help in those areas.
Setup Git Repo
Vercel can automatically pull the Nextjs project code from a Git repository and deploy it. For that we need to store our Next.js project in a Git server like Github, Bitbucket or Gitlab.
I created a repository in my Github account and named it tishku. Then I pushed my Next.js code, just like that to the newly created repo.

Setup Vercel Account
Vercel is the platform that is going to host our Next.js application. To start with, visit the beautiful Vercel website.
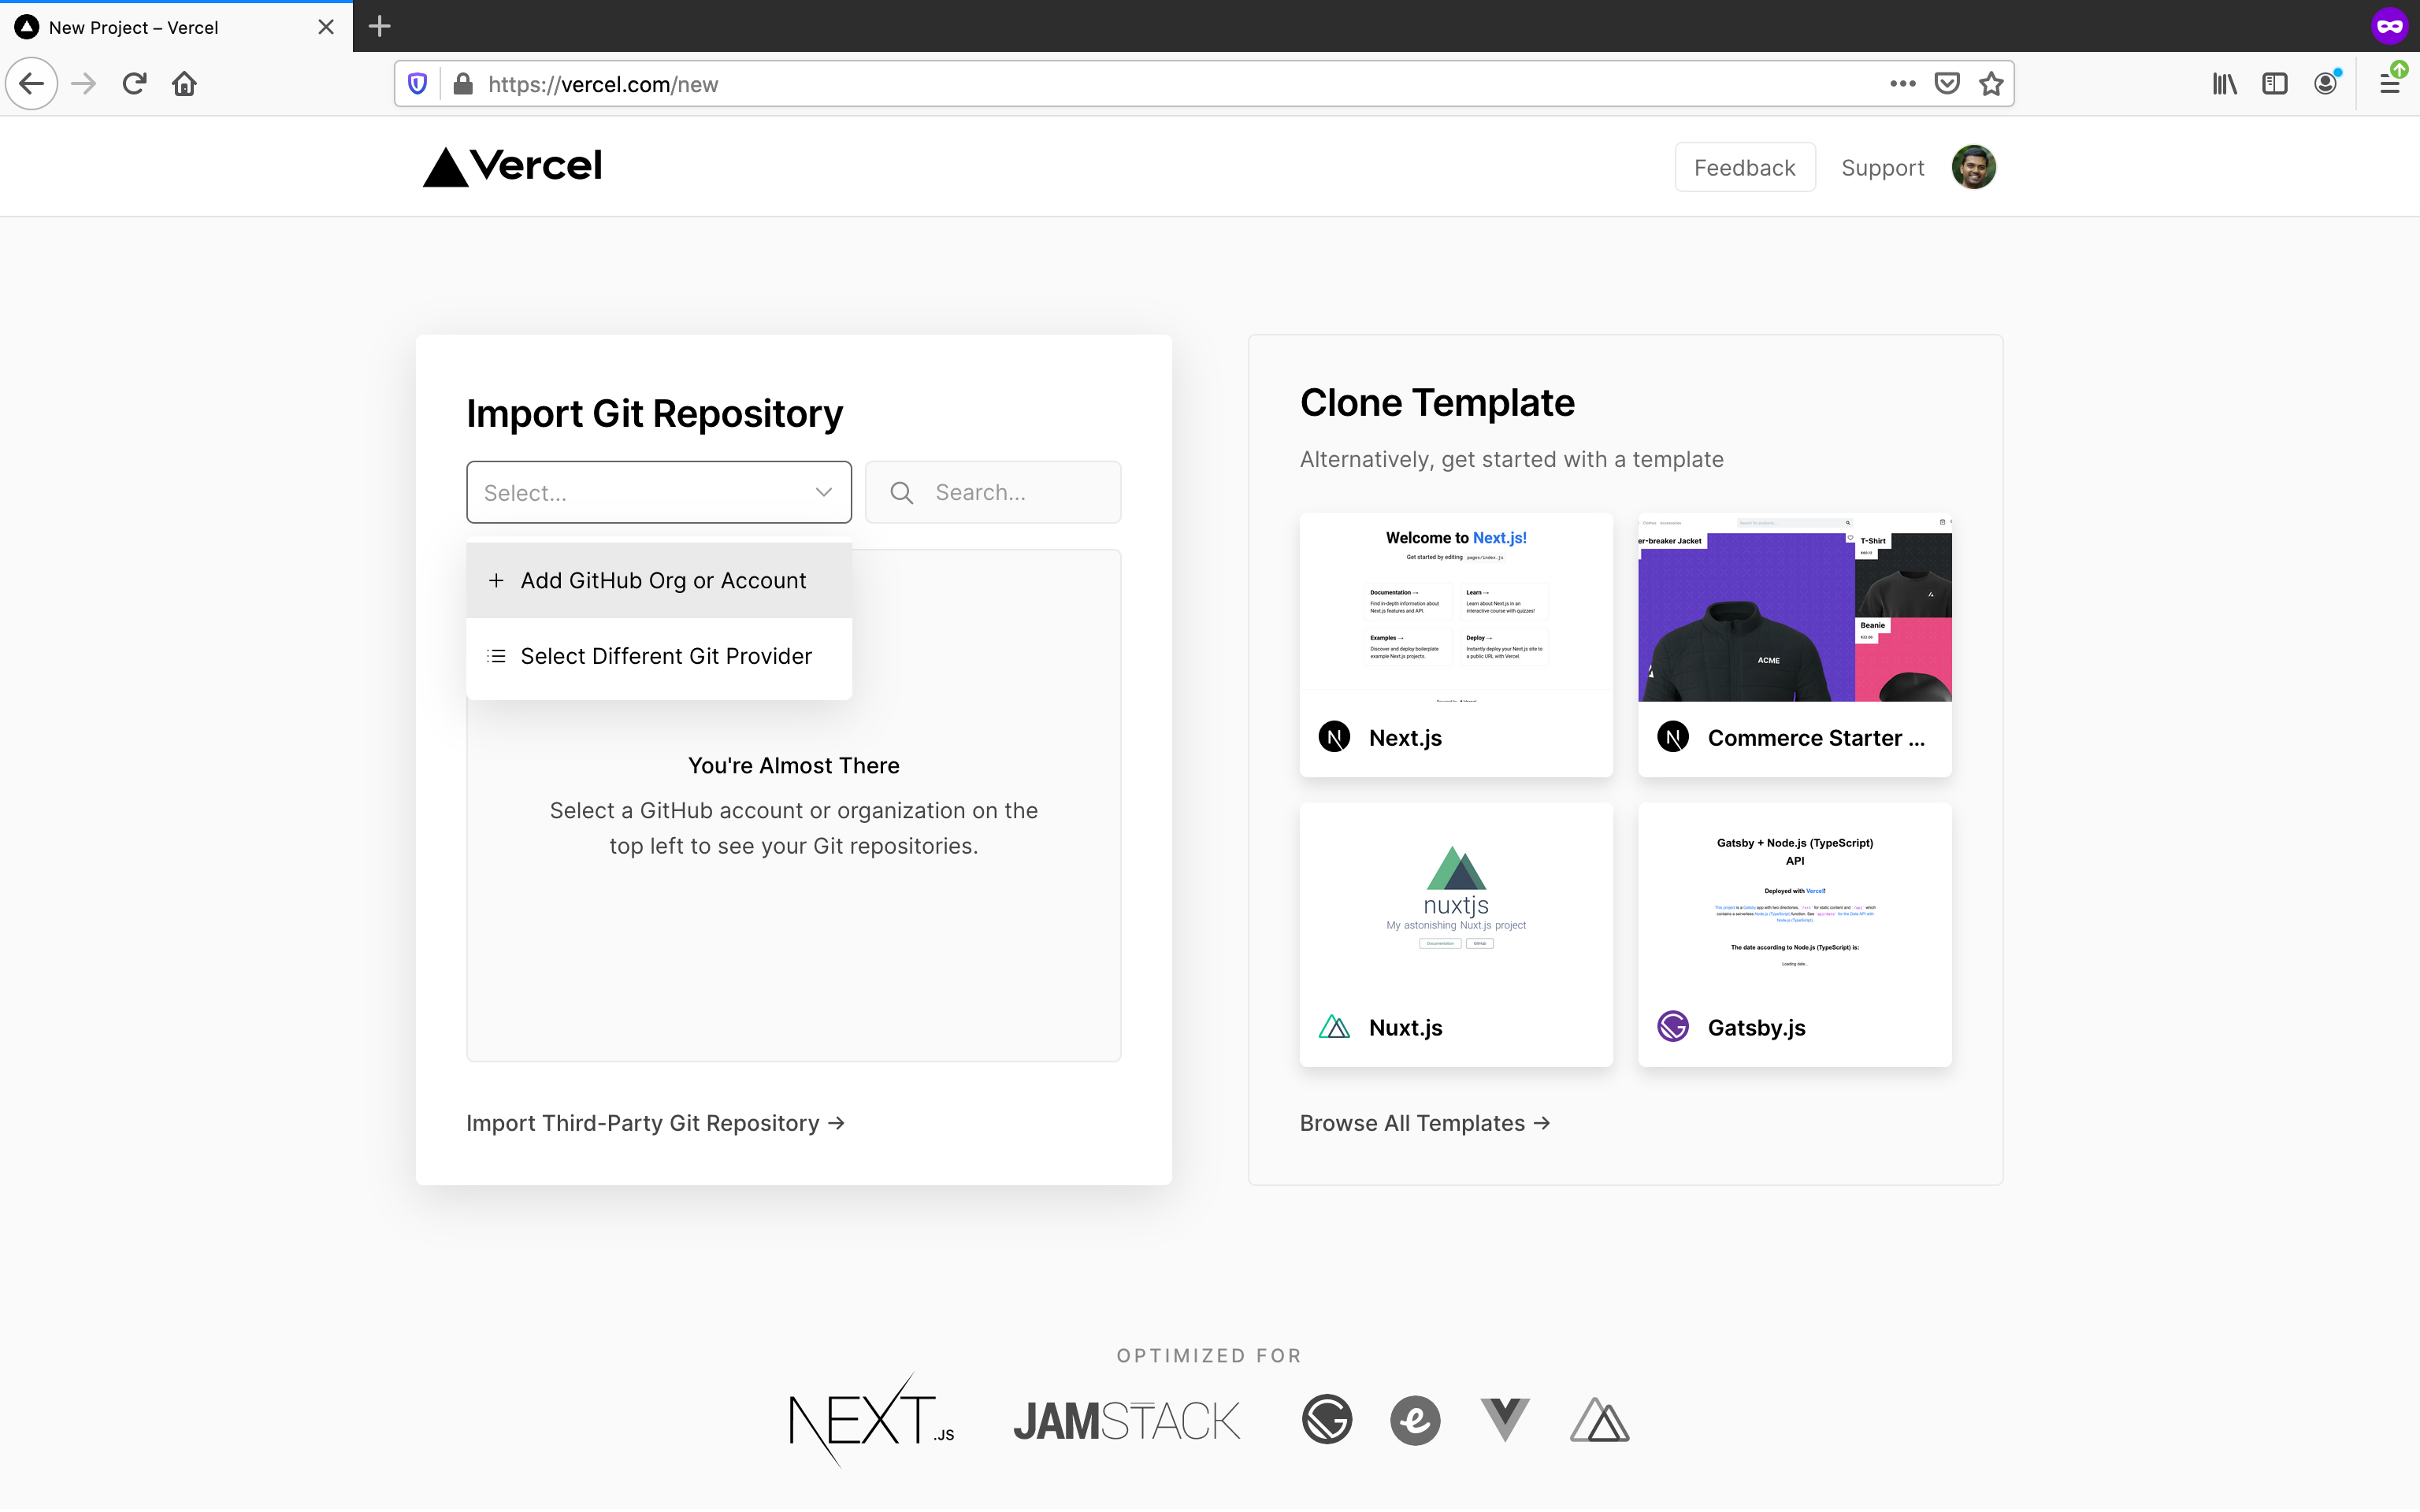
We can join Vercel using our Github, Gitlab or Bitbucket account. Since, my code is in Github, I am opting for Continue with Github. Once logged in, we can import our Next.js project from Github. For that, select Add Github Org or Account option from Vercel home page.
Follow the steps required. In the step to select Github repositories, I explicitly chose tishku repo I created in previous step. Finally, the home page looks like this.
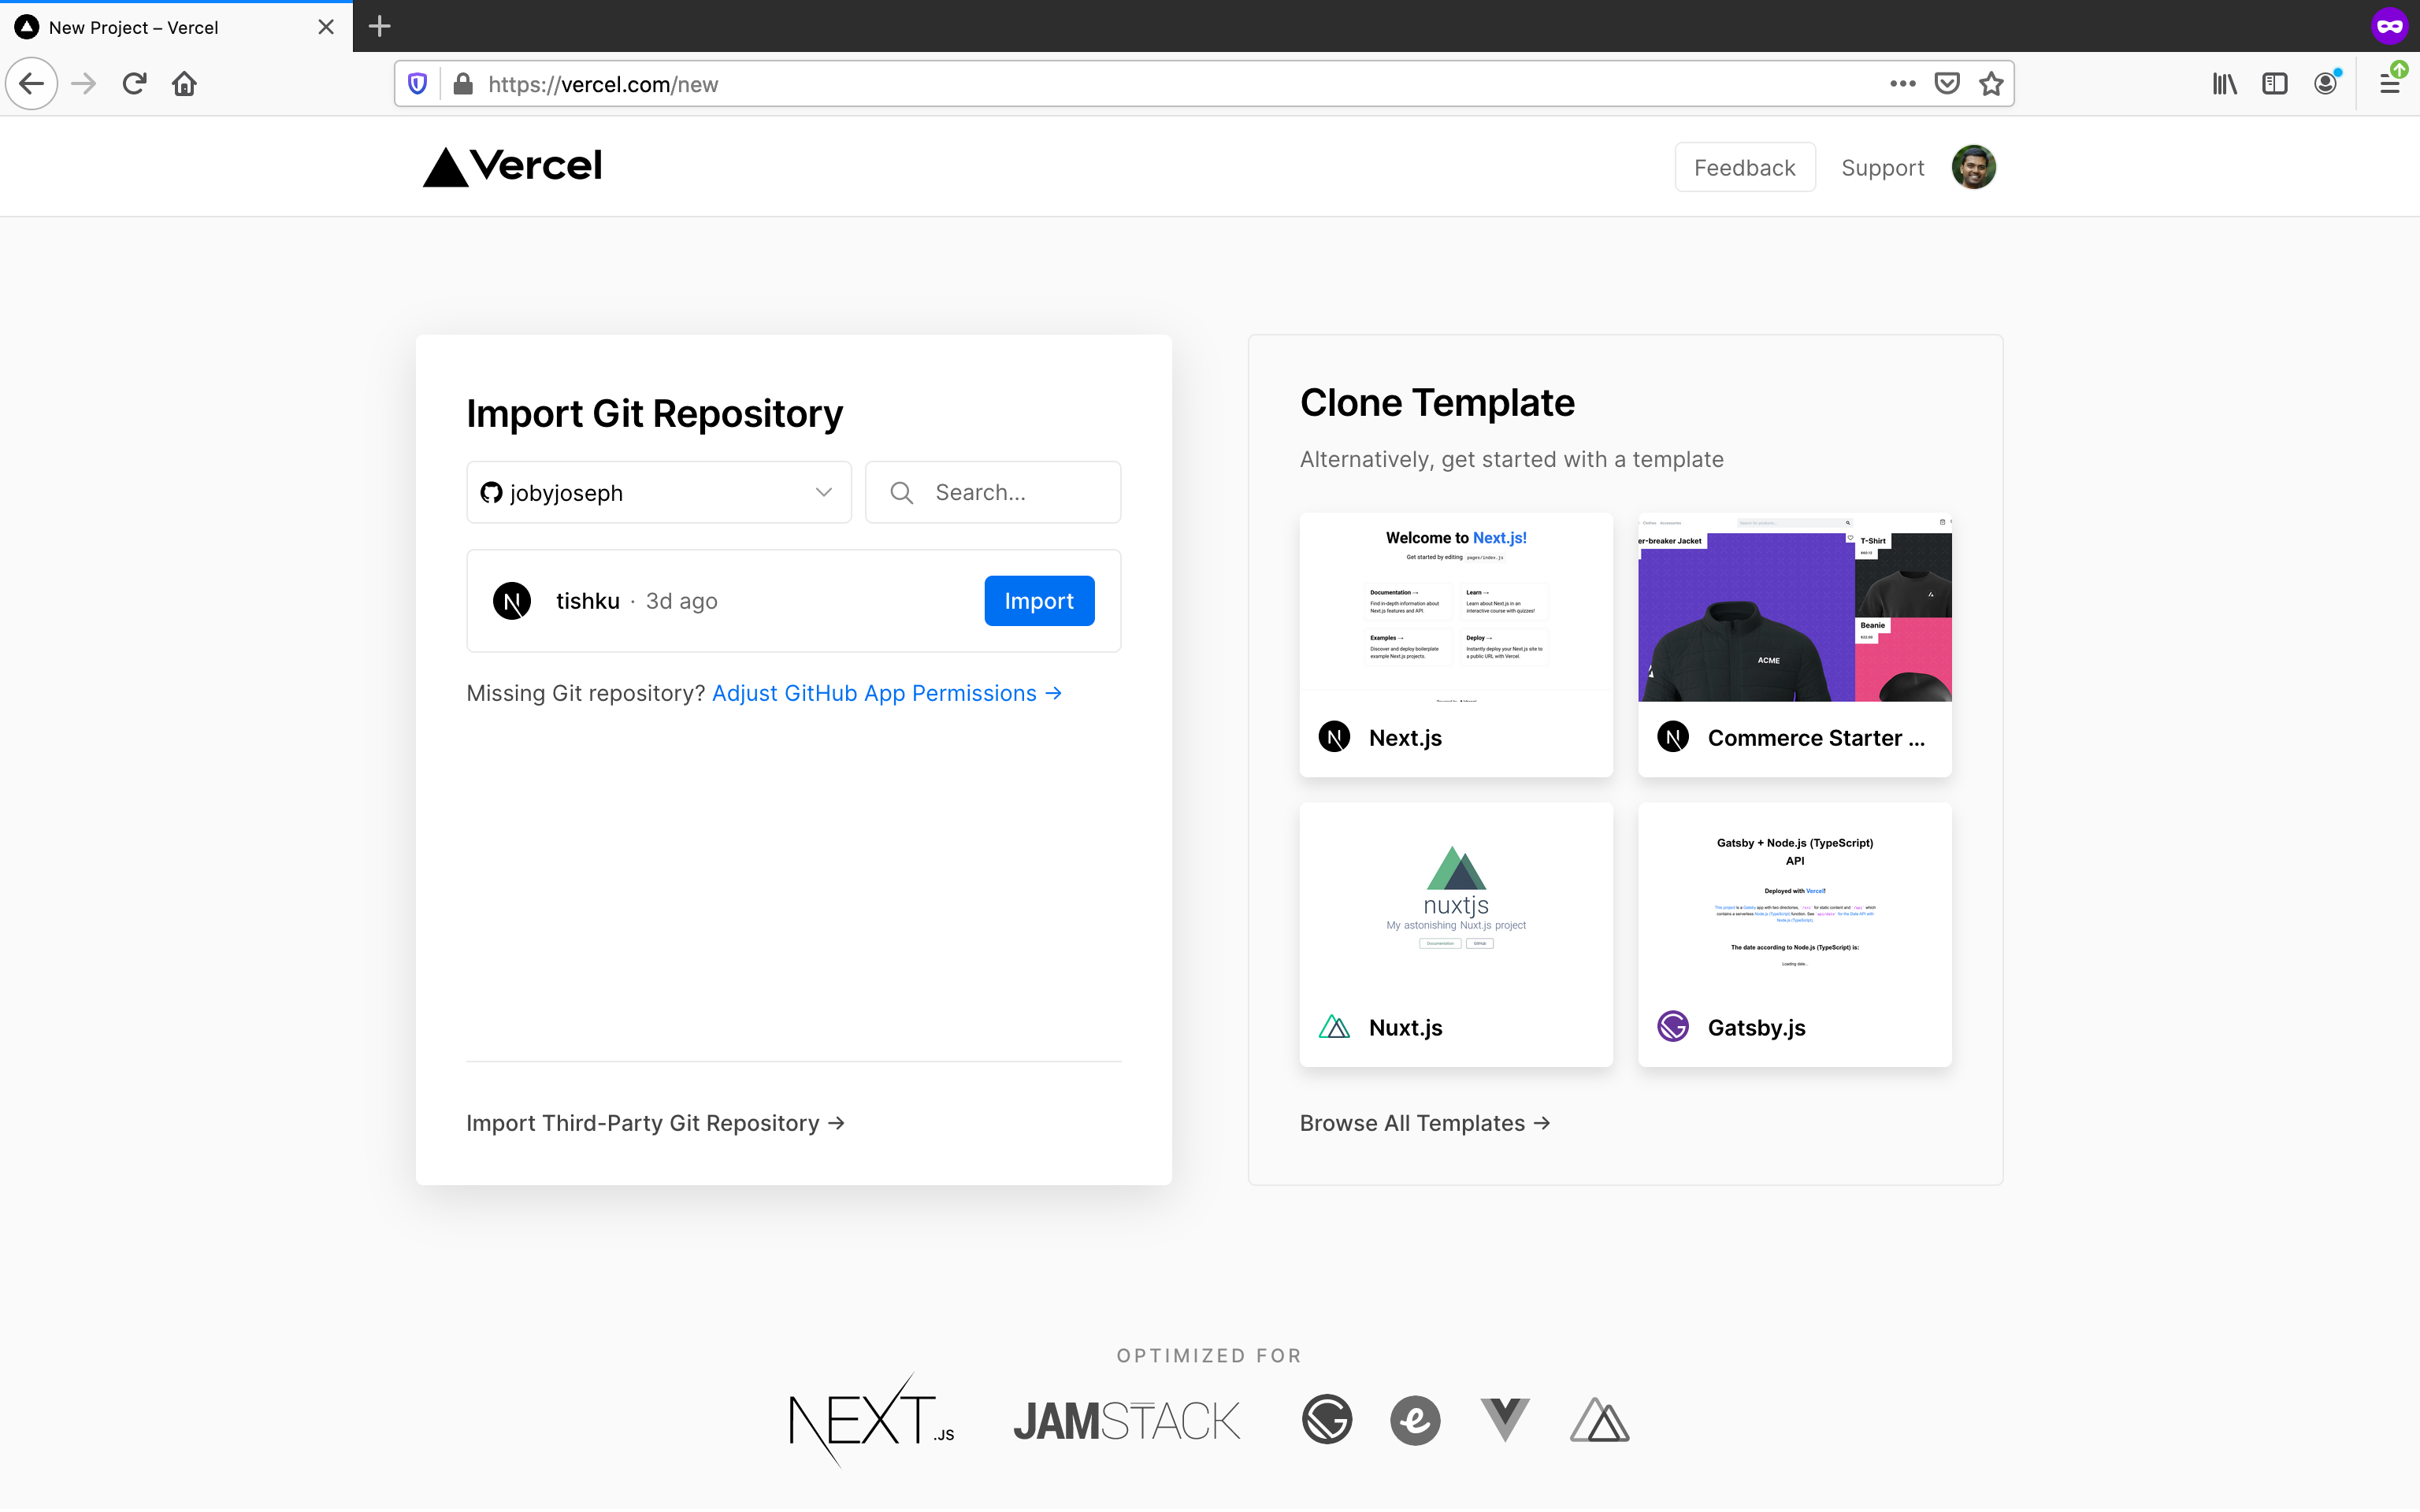
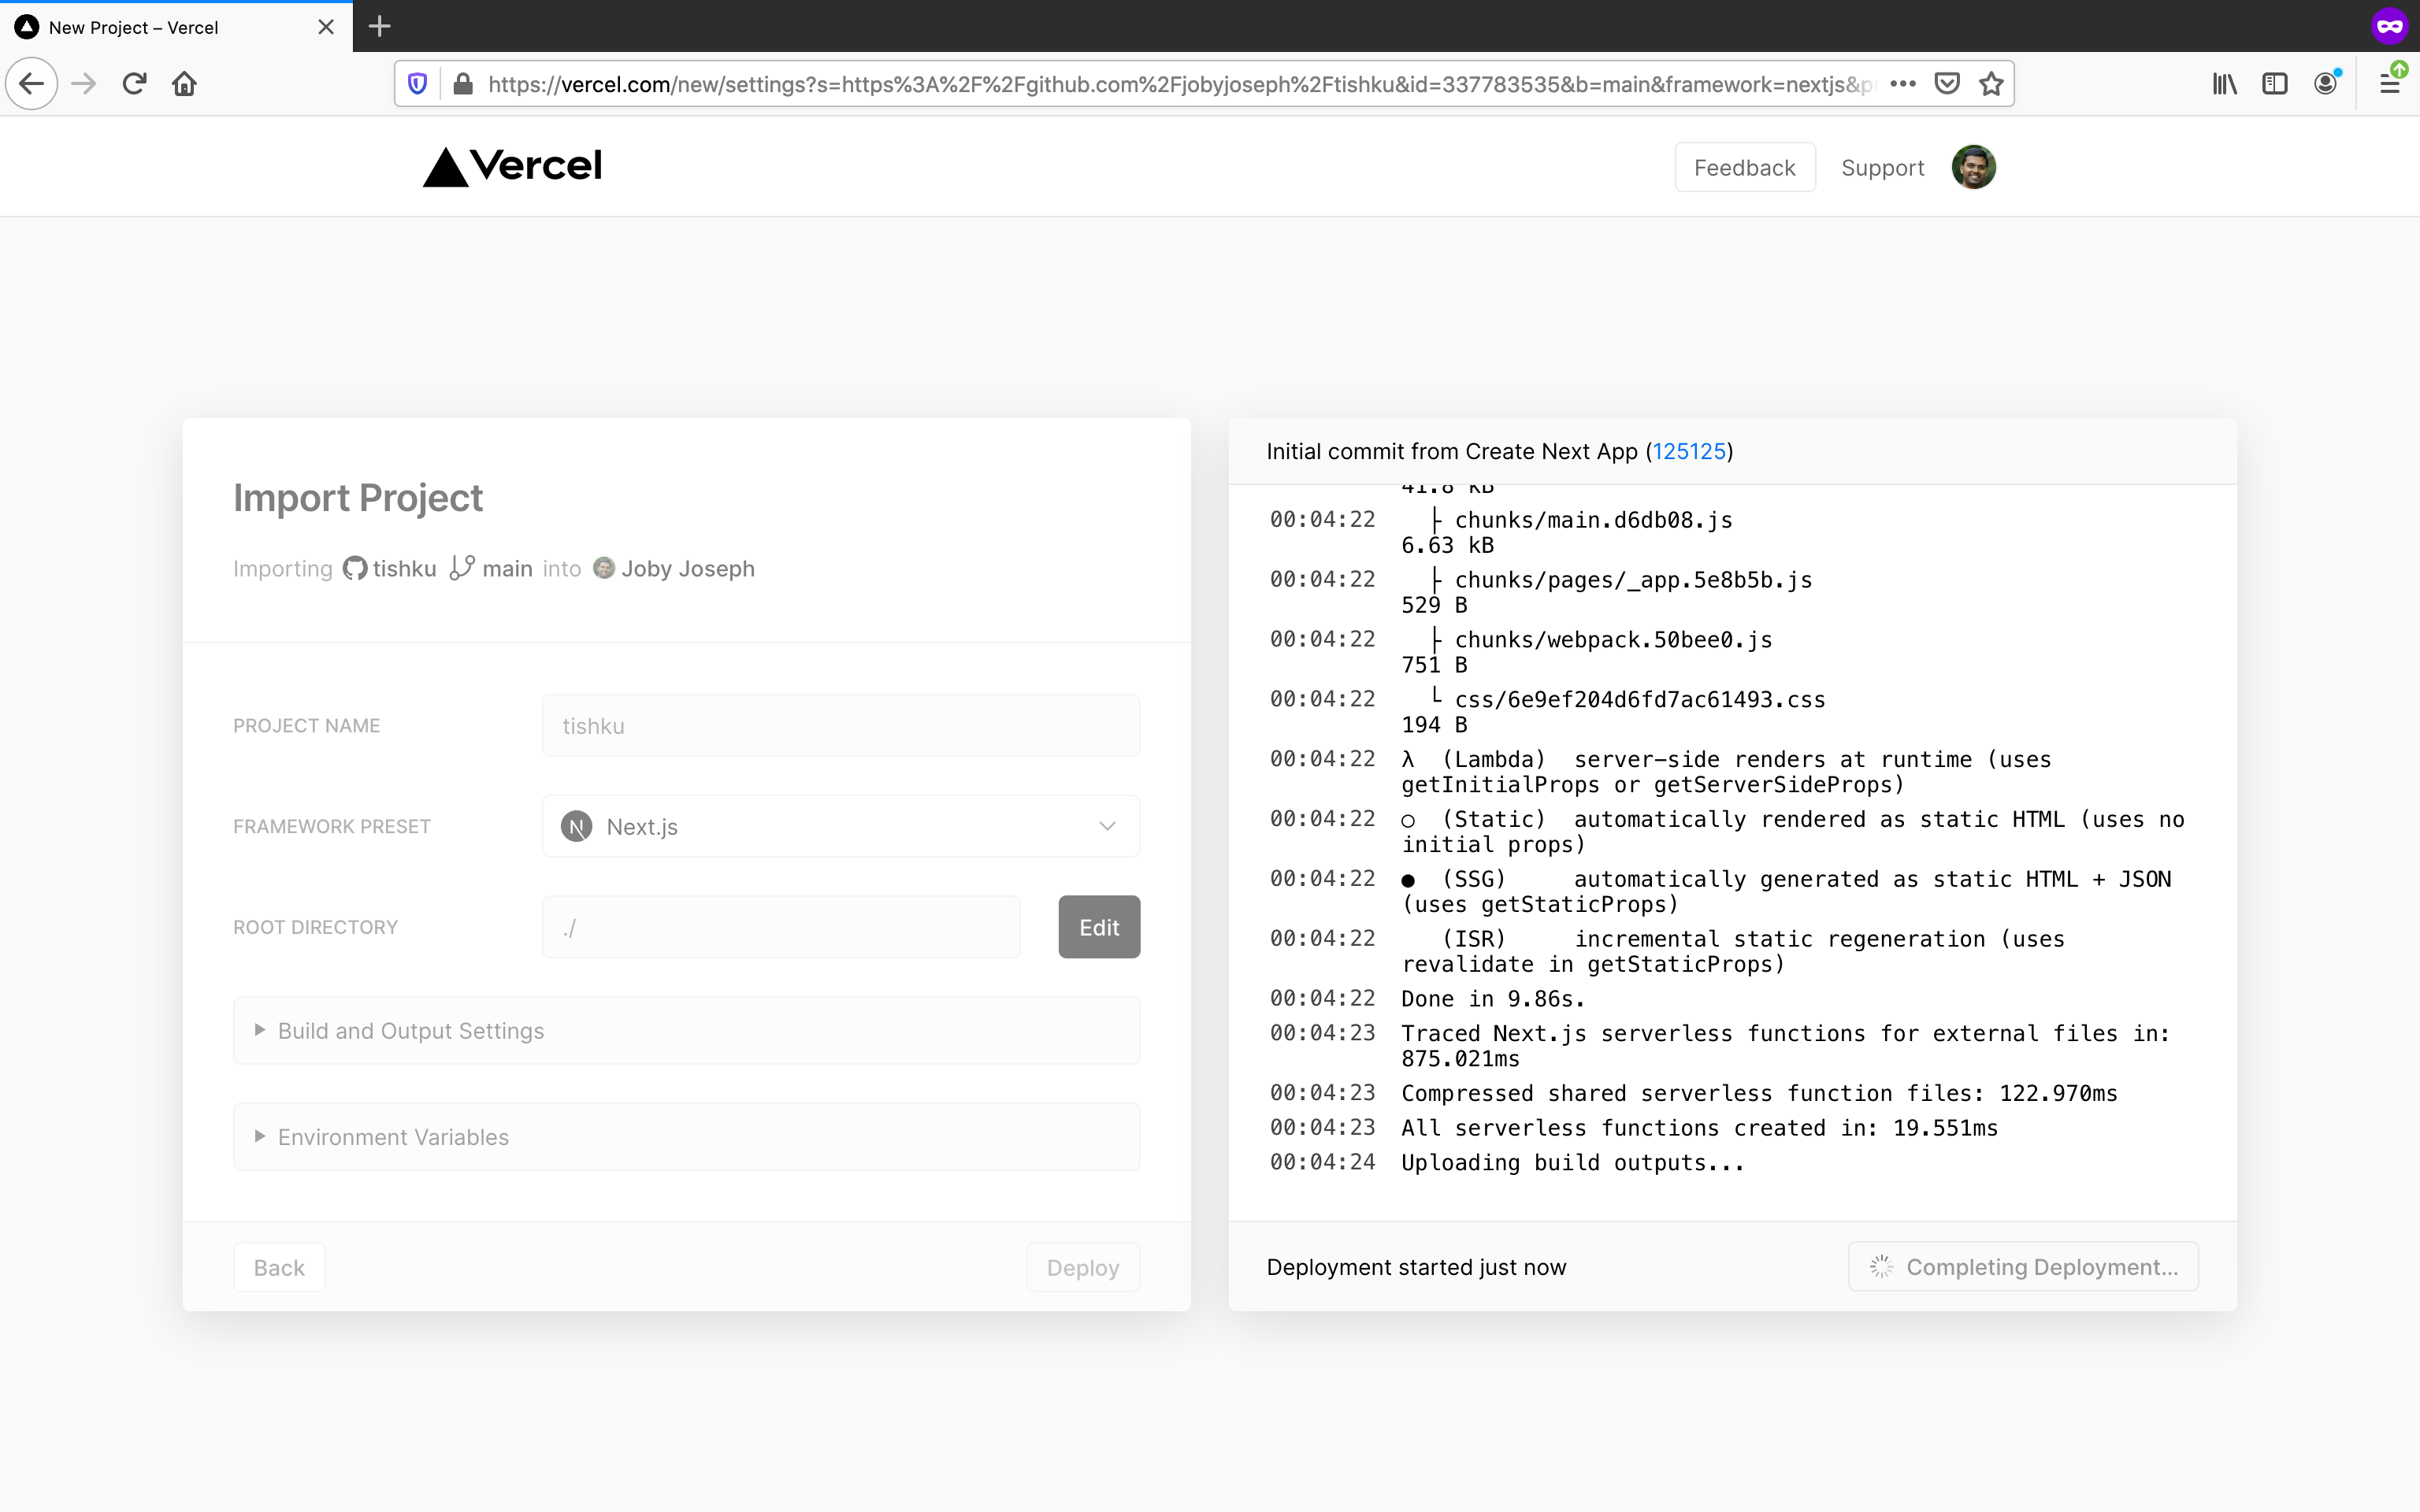
Now, Vercel is ready to import and deploy our Next.js project. For that click Import button next to tishku. Follow the required steps. Once the deployment starts, we can see the log statements updating live.
Once the deployment is done, we get a link to see the app live.
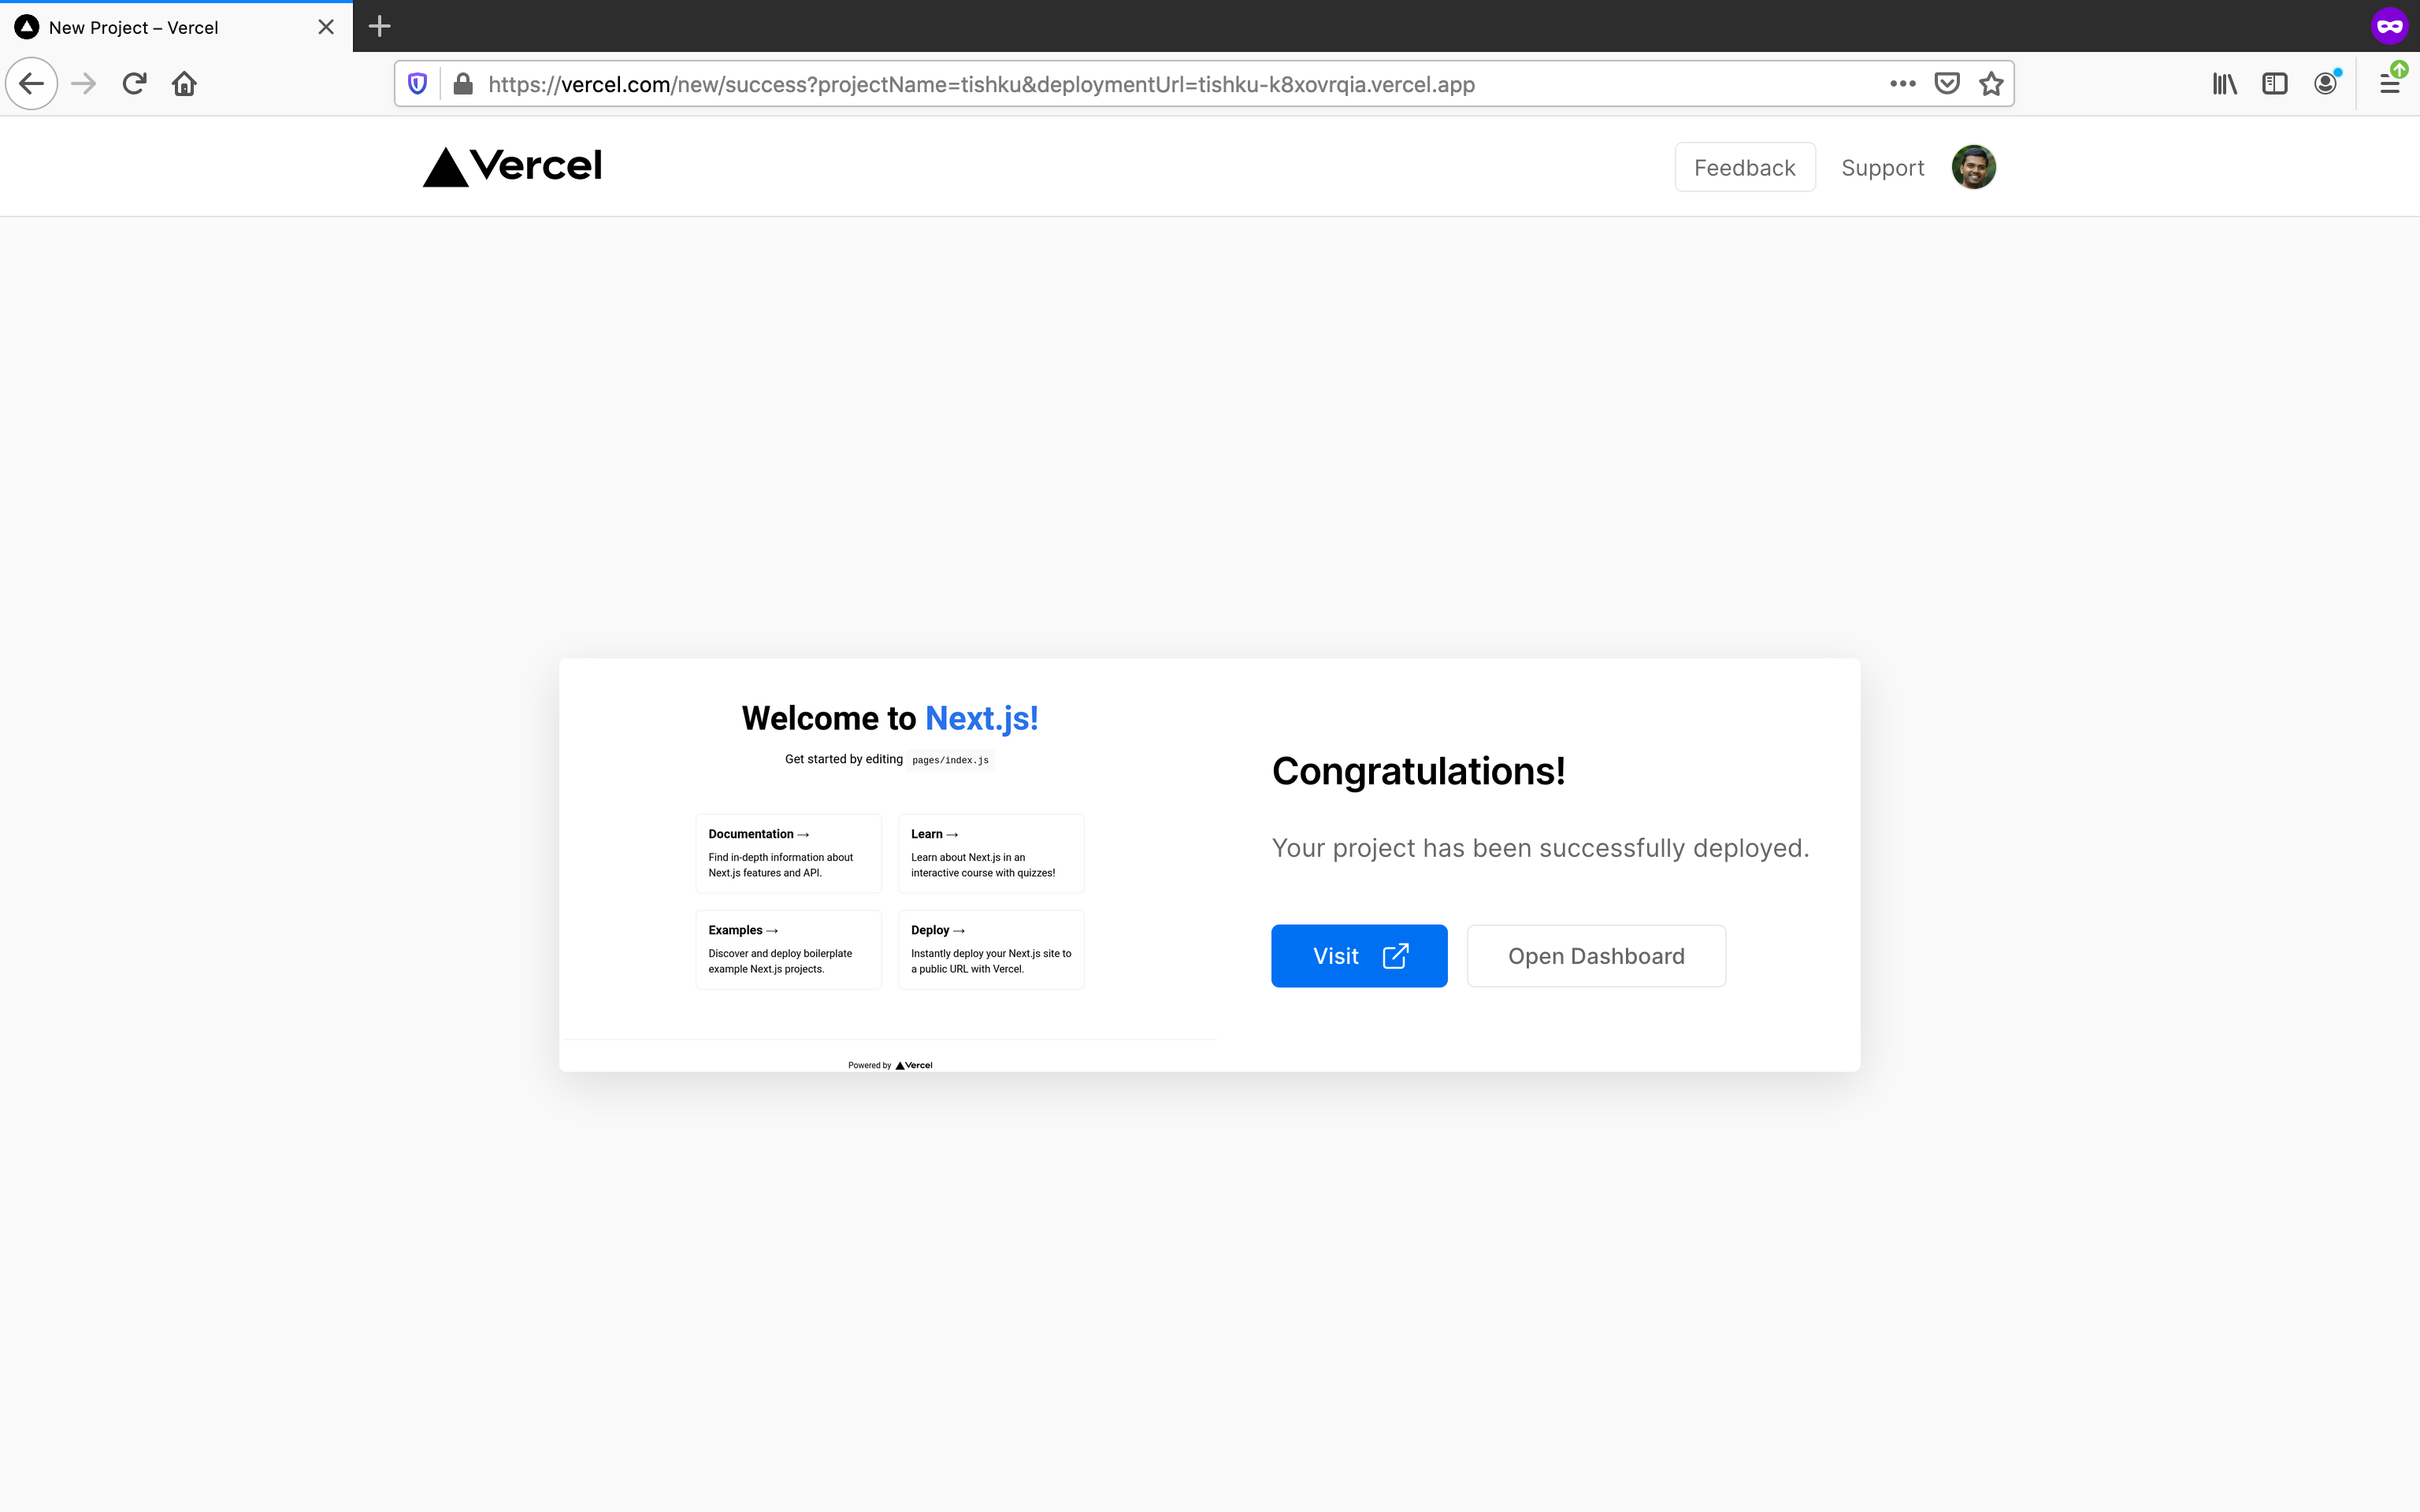
We can click on Visit button to see the live site. The live site link will look like site_name.vercel.app. Mine is tishku.vercel.app. Click here to view my tishku site.
Even though the link is to tishku.vercel.app, You will see tishku.com because I have set a redirect to my custom domain.
Setup Custom Domain
When I hosted the app in Versel, I received a subdomain to access the app. It is https://tishku.vercel.app/. Now I need to map my own domain tishku.com to https://tishku.vercel.app. I am following this Vercel documentation to setup custom domain.
First, login to Versel dashboard. Click on the project, in my case tishku. Then under Settings > Domain, add the domain name(tishku.com).
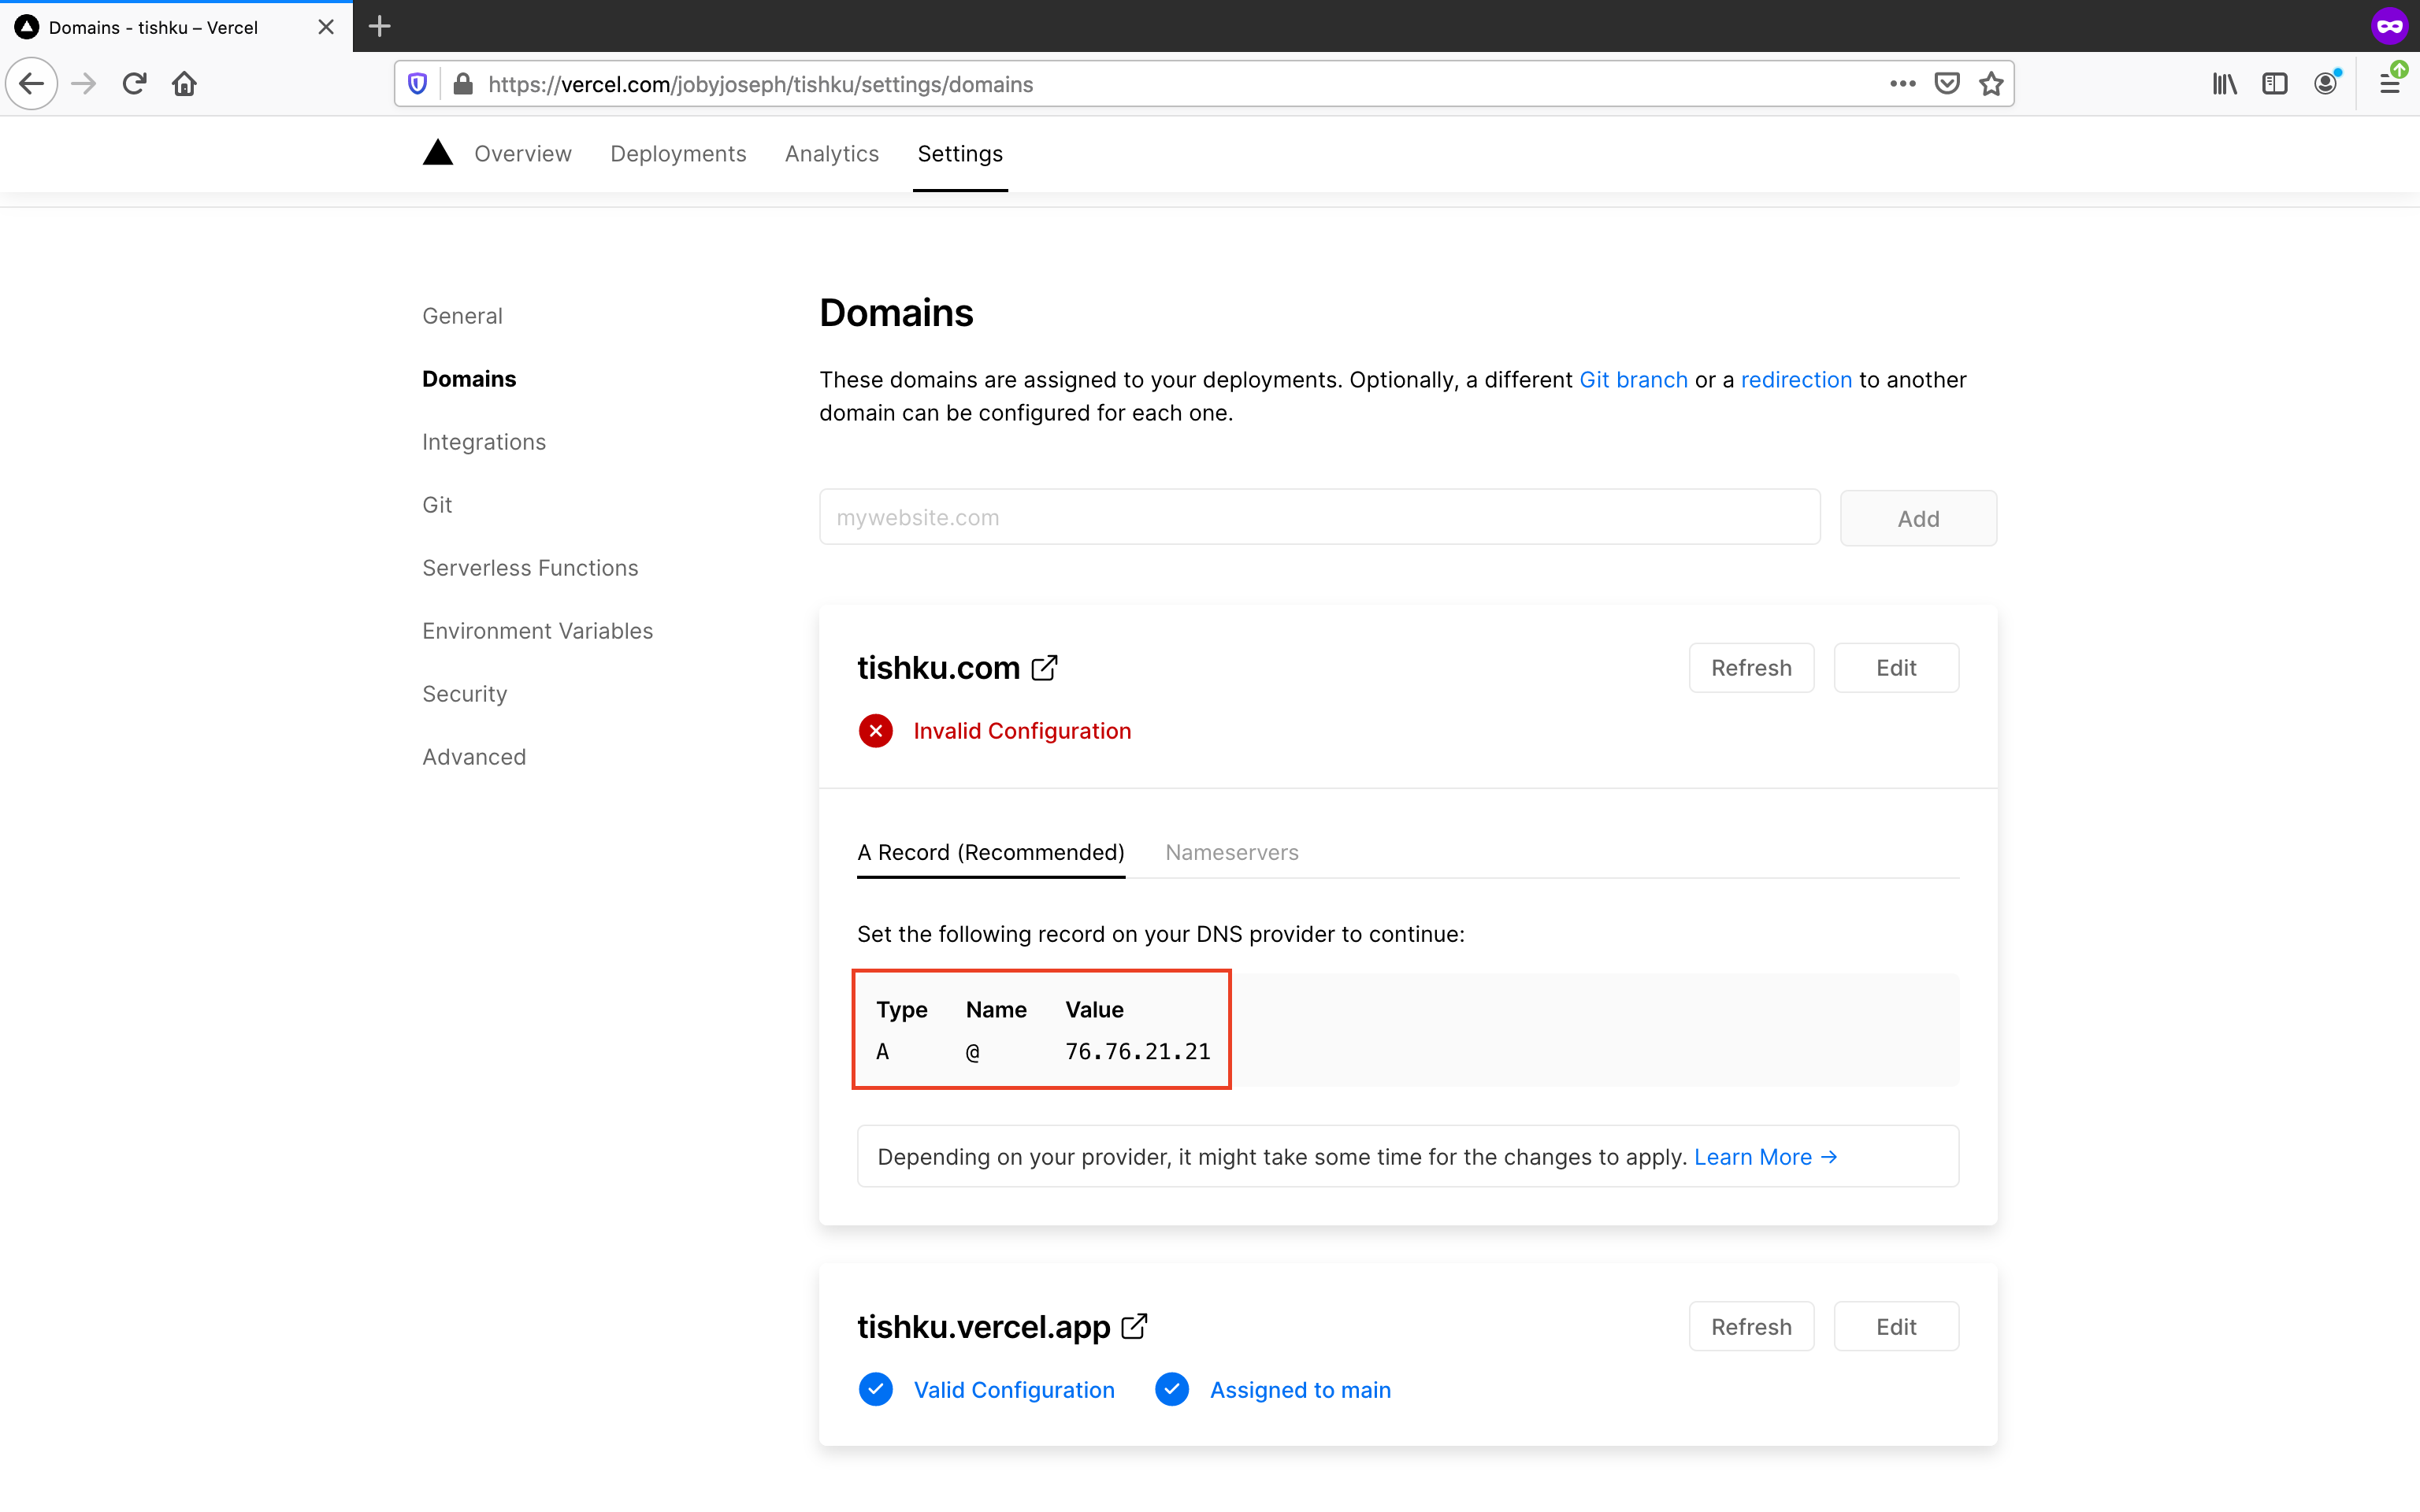
Next, add this A Record for the domain. This can be done on the site from where we bought the domain. In my case, I bought the domain from namecheap.com. So I can set the A Record in namecheap.com. Once I set the A Record, the site started coming in https://tishku.com/ in few minutes.
Vercel is now managing many things for us like SSL(My site is running on https), CDN, Easy deployment from any branch in the repo, Easy preview of a new feature and lot of other helpful things.

 Joby Joseph