
In a typical React project, we use Babel and Webpack. Babel is used to convert JSX and ES6 to pure ES5 code. Webpack is used as the bundler. It will be helpful if we have a code base to start with any React project. That is what we are trying to do.
Install Node.js and NPM
We need Node.js and NPM to download and install Node packages like React, Webpack and so on. We can download and install from their official site. When we install Node.js, automatically NPM is also installed.
We can also install Node.js using NVM. If we use NVM, it is very easy to switch between multiple Node versions.
Once we complete Node.js and NPM installation, we can verify it by typing
> node --version
v12.14.1

> npm --version
6.13.4
Create Project Folder
Let us create a new folder anywhere with name react-starter. In the terminal, navigate to the project folder.
Package.json
In a Node project, package.json file stores the information about the project like its name, license, scripts, dependencies and so on. We can create a package.json file with default values using
npm init -y-y flag is for setting default values. Now a package.json file is created inside the project folder with following contents.
{
  "name": "react-starter",
  "version": "1.0.0",
  "description": "",
  "main": "index.js",
  "scripts": {
    "test": "echo \"Error: no test specified\" && exit 1"
  },
  "keywords": [],
  "author": "",
  "license": "ISC"
}
Create Source
We structure our project folder in a way that all source files reside in one folder named src. Later, when we build our project, the deployable files will be generated and reside in /dist folder.
So, first create a folder src in the root. Now this folder will contain all the React component code written using JSX, styles written using SCSS and a template HTML to render the React components. When we build the project, all the JSX will be converted to JavaScript, all the SCSS will be converted to pure CSS, the HTML will be updated with needed file references and copied to /dist folder.
Template HTML
As a starting point, let us create the index.html file inside src folder. This file is the template HTML.
<!DOCTYPE html>
<html lang="en">
  <head>
    <meta charset="UTF-8" />
    <meta name="viewport" content="width=device-width, initial-scale=1.0" />
    <title>React Starter</title>
  </head>
  <body>
    <div id="root"></div>
  </body>
</html>
Few points about this index.html source file. The about-to-be created React component(s) will be rendered inside the div tag. Right now, we are not seeing any reference to any JavaScript or CSS files inside html. Those will be added in the generated html file during the build step. How? We will see later.
React Component
We prepared the HTML to show our React component. It is time to create our React component. For that, create index.js file in /src folder. Paste following code.
import React from "react";
import ReactDOM from "react-dom";
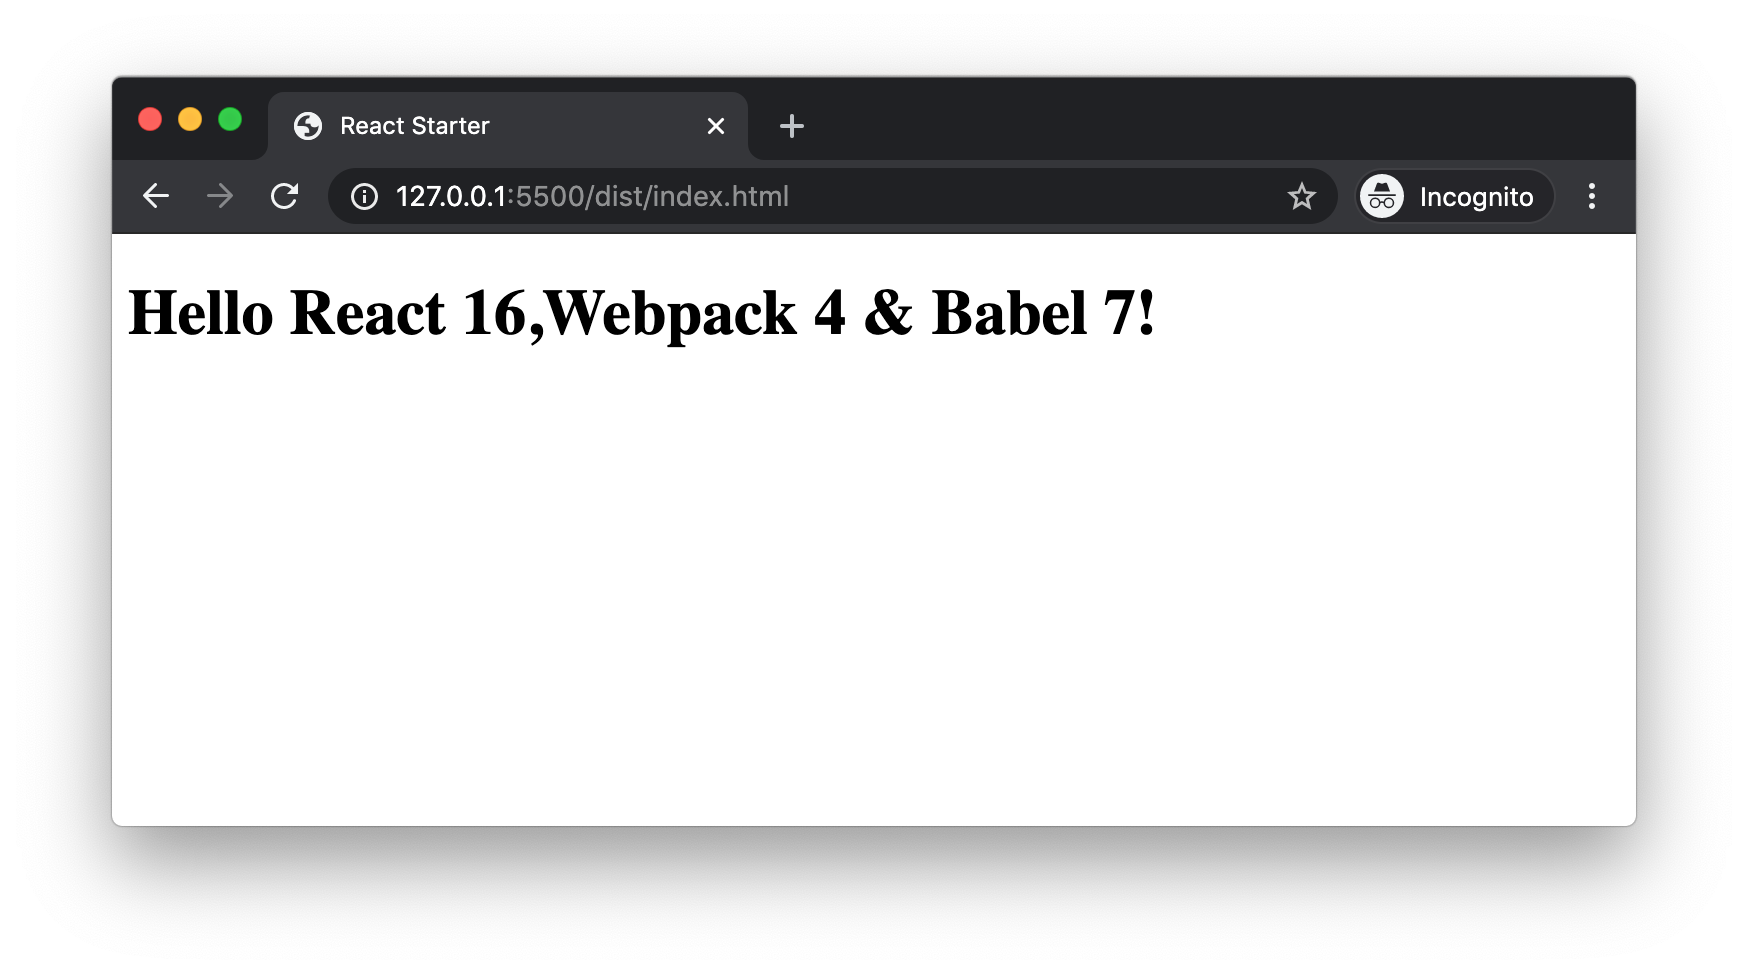
const App = () => {
return <h1>Hello React 16,Webpack 4 & Babel 7!</h1>;
};
ReactDOM.render(<App />, document.getElementById("root"));Let us understand what is happening above. We import react package to create our App component. We import react-dom package to render our component in the html.
You might be thinking that, the
Appcomponent is not usingReactanywhere to create the component. Then why adding theReactimport? It is because, when the JSX is converted to JavaScript, the code will have a line withReact.createElementin it. At that time, this React dependency is required.
But, we have not added react and react-dom packages to our project. Let us do that now.
npm install react react-dom --saveNow we fulfilled all dependencies for index.js file.
Webpack
So far our source codes are lying in /src folder. We do not have any files which can be deployed to server. What happens if we just copy both index.html and index.js to a web server like nginx or Apache? It simply renders the index.html in browser. Since there is no reference to index.js, it is ignored.
So we need someone to stitch both files and set it ready for deployment inside /dist folder. That someone is Webpack. Webpack is a bundler. In simple terms, we can say that Webpack wraps all dependencies of a project to a single bundle file and places it in the /dist folder.
Here is how we can install Webpack.
npm install --save-dev webpackOnce webpack package is installed, we need to give instructions to webpack on what to do. For that we need to create webpack.config.js file in the project root. Webpack always checks this file to understand how to bundle the project.
Webpack Configuration
Create webpack.config.js file in project root. Paste the following contents.
var path = require("path");

module.exports = {
  entry: "./src/index.js",
  output: {
    path: path.resolve(__dirname, "dist"),
    filename: "bundle.js",
  },
};
Now when webpack reads this config file, it understands that it needs to start creating the bundled file from the index.js file inside src folder. After creating the bundle, it needs to find dist folder and place the bundled file and name it bundle.js.
Run webpack
Now its time to tell webpack to do the task as per the config file. For that, let us create a script in package.json file. Inside our current package.json file, we can see:
"scripts": {
  "test": "echo \"Error: no test specified\" && exit 1"
}
We do not need the test command now. Instead replace that line with a start command which executes webpack. The scripts block looks like this:
"scripts": {
  "start": "webpack"
}
Now to run the start script, go to project root folder in a terminal and type the following.
npm startWe expect our bundle.js file to be present in /dist folder. Instead, we are seeing an error in console.
One CLI for webpack must be installed.
...
You need to install 'webpack-cli' to use webpack via CLI.
What the error message says is, since we want to use webpack as a command line tool, we need to install webpack-cli also. For that, go to the terminal and type:
npm install webpack-cli --save-devAfter installing webpack-cli, let us try npm start command again.
When we run the command, webpack starts the bundling process. When it approached, /src/index.js, it found some characters which should not be found in a JavaScript file. So now webpack is throwing a different error in console.
Module parse failed: Unexpected token (5:9)
You may need an appropriate loader to handle this file type, currently no loaders are configured to process this file. See https://webpack.js.org/concepts#loaders
Now, this error has nothing to do with webpack. Basically, webpack is a bundler. It is trying to create a single bundle. On the way, it is not able to crunch the JSX syntax inside index.js. In order to understand and convert the JSX syntax to JavaScript, Babel is there to help.
Babel
Babel is a transpiler, which means it can convert one type of code to a different type. In our project, we are using Babel to convert JSX to JavaScript.
Babel can stand alone and convert JSX to JavaScript. But, we have given the job to bundle the file to Webpack. So in order for webpack to use Babel to handle JSX files, Webpack requires babel-loader.
Loaders are like different types of ammunitions collection of Webpack. Webpack might use a
babel-loaderto crunch a JSX file or ES6 file. Again, it might use asass-loaderto understand a SCSS file.
babel-loader just loads the Babel functionality to webpack. It does not have any other powers. So in order for babel-loader to work, we need to install the core babel package @babel/core. We also need to install @babel/preset-env @babel/preset-react to convert ES6 and JSX to ES5 respectively.
npm i @babel/core babel-loader @babel/preset-env @babel/preset-react --save-devNow, all the babel requirements are installed. But we have not told webpack to use babel-loader to parse a JavaScript file. Let us add that part in webpack.config.js file. Add the following code in the same level as that of entry key.
module: {
  rules: [
    {
      test: /\.(js|jsx)$/,
      exclude: /node_modules/,
      use: {
        loader: "babel-loader"
      }
    }
  ]
}
Above code sets a rule in webpack config file. The rule is applicable for .js or .jsx files, excluding files in node_modules folder. Since this rule is present, whenever webpack needs to add a JavaScript file or JSX file to the bundle, it uses babel to transpile the code and then add the output to the bundle.
.babelrc
Webpack calls babel using babel-loader. Babel needs to know what all capabilities it needs to have or in other words, what all presets needs to be defined. For that, we create a .babelrc file in the project root and add the following text.
{ "presets": ["@babel/preset-env", "@babel/preset-react"] }Let us now go to the terminal and run npm start. This time, webpack successfully creates the bundle.js and place it inside /dist folder. We can see an output like below in console.
> webpack

Hash: 8e96f900f4a0ada759de
Version: webpack 4.41.6
Time: 7229ms
Built at: 02/18/2020 09:43:53
    Asset      Size  Chunks             Chunk Names
bundle.js  1.08 MiB    main  [emitted]  main
Entrypoint main = bundle.js
[./src/index.js] 255 bytes {main} [built]
    + 11 hidden modules
HtmlWebpackPlugin
Our current state is we now have a bundle.js in /dist folder. There is no HTML file in /dist folder to be deployed. During the build process, we want Webpack to create a HTML file in /dist folder to serve the bundle.js file. HtmlWebpackPlugin is a webpack plugin who can help us here. Install it first using:
npm install --save-dev html-webpack-pluginOnce it is installed, we need to tell Webpack to use it. We need to modify webpack.config.js for the same. Please have a look in the code below to know the modifications to be done.
var HtmlWebpackPlugin = require("html-webpack-plugin");
var path = require("path");

module.exports = {
  entry: "./src/index.js",
  //...
  module: {
    /*...*/
  },
  plugins: [
    new HtmlWebpackPlugin({
      template: "./src/index.html",
    }),
  ],
};
Here we added the HtmlWebpackPlugin to plugins array inside webpack.config.js. The plugin accepts a template option, where we can specify the source template html file, we have created.
Now when we run npm start, webpack creates both bundle.js and index.html inside /dist folder. The generated index.html file contains the reference to bundle.js.
We can open the index.html file in browser to see our React component rendered!.
WebpackDevServer
Our project is running fine. But during the development process, each time we need to run the webpack command and wait for the build to complete. Then open the html file in browser to see the output. This is time consuming.
Webpack has its own web server called webpack-dev-server. It automatically refreshes the browser with new change if any files are changed in source. First lets install webpack-dev-server.
npm i webpack-dev-server --save-devNow we can update the scripts in package.json file as follows.
"scripts": {
  "start": "webpack-dev-server --open --hot",
  "build": "webpack"
}
In the start script, instead of building the project, we are directly serving the output in browser. webpack-dev-server can use webpack internally and store the bundle.js and index.html in the memory. Then serve the html file directly from the memory. It will not create a physical file in /dist folder.
--open flag is to open the default browser automatically. --hot is to set a watch for file changes and automatically reloads the browser when a change occurs.
Run npm start in the terminal.
We can see webpack-dev-server serving the output in a browser. We can go to /src/index.js and make any modifications in the React component. As soon as we save the file, the output in the browser gets updated. This is how webpack-dev-server makes development very easy.
Summary
Now we have a code base to start trying any React project. This is just a starter. A lot can be improved before moving to actual production. Through this course, we learned that:
- We need Node.js and NPM to install and run packages used in our project.
- package.json file stores the project dependecies.
- We can create a simple and readable folder structure using
/srcand/distto distinguish between our source files and deployable files. - Webpack is a bundler which creates a single bundle file which contains all our project dependencies.
- All the configurations required for webpack is written in a
webpack.config.jsfile in project root. - In order to run
webpackcommand in command line, we need to installwebpack-clipackage. - Babel can be used with webpack using
babel-loader. - We specify the presets used by babel inside
.babelrcfile which is located at project root. - HtmlWebpackPlugin is a webpack plugin which can dynamically create our deployable html file with reference to bundle.js file.
- During development process, we can make use of
WebpackDevServerto serve our output file in a browser and automatically refresh the browser when a change in file occurs. This is called hot-reloading.

 Joby Joseph